
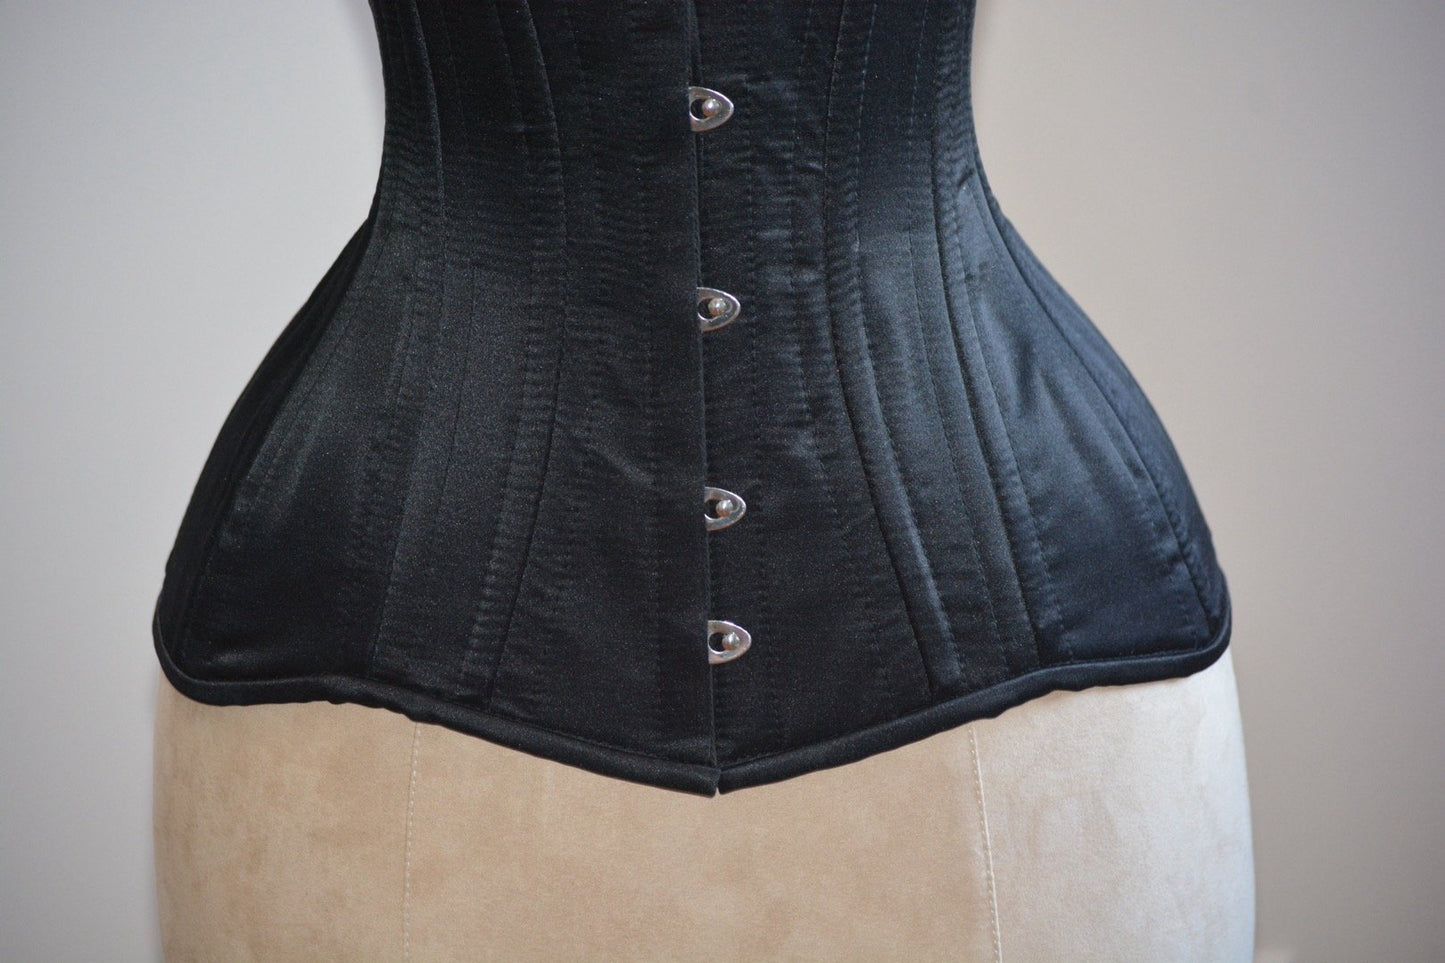
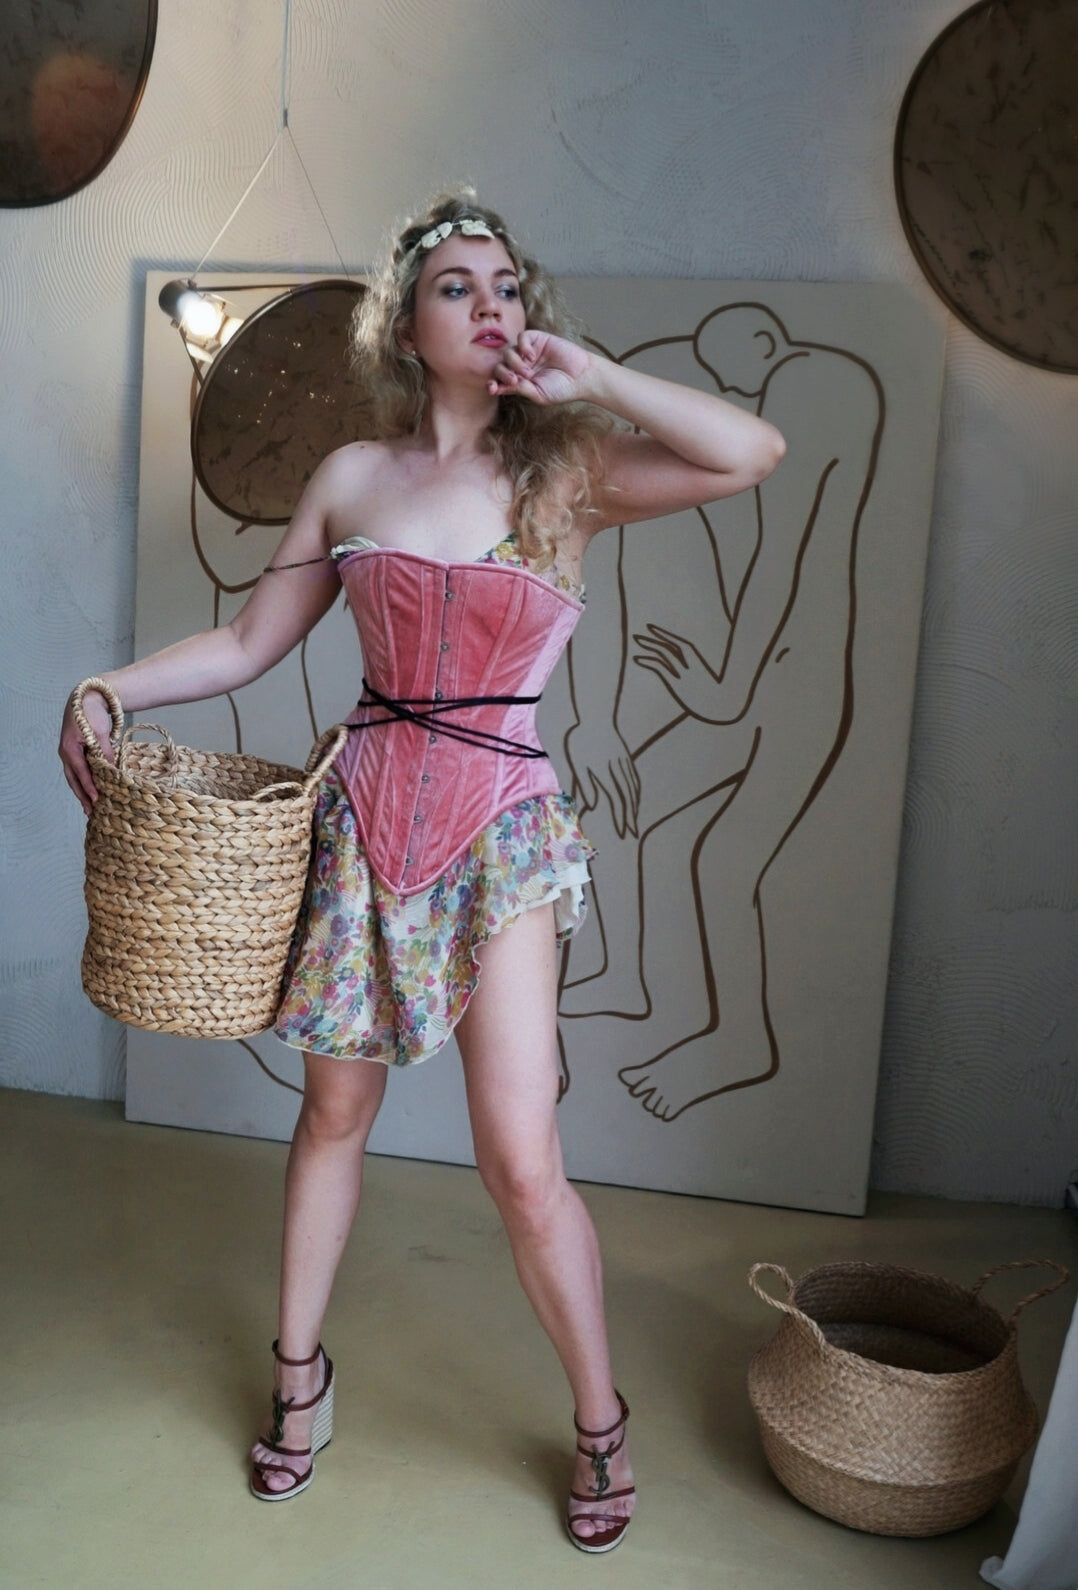
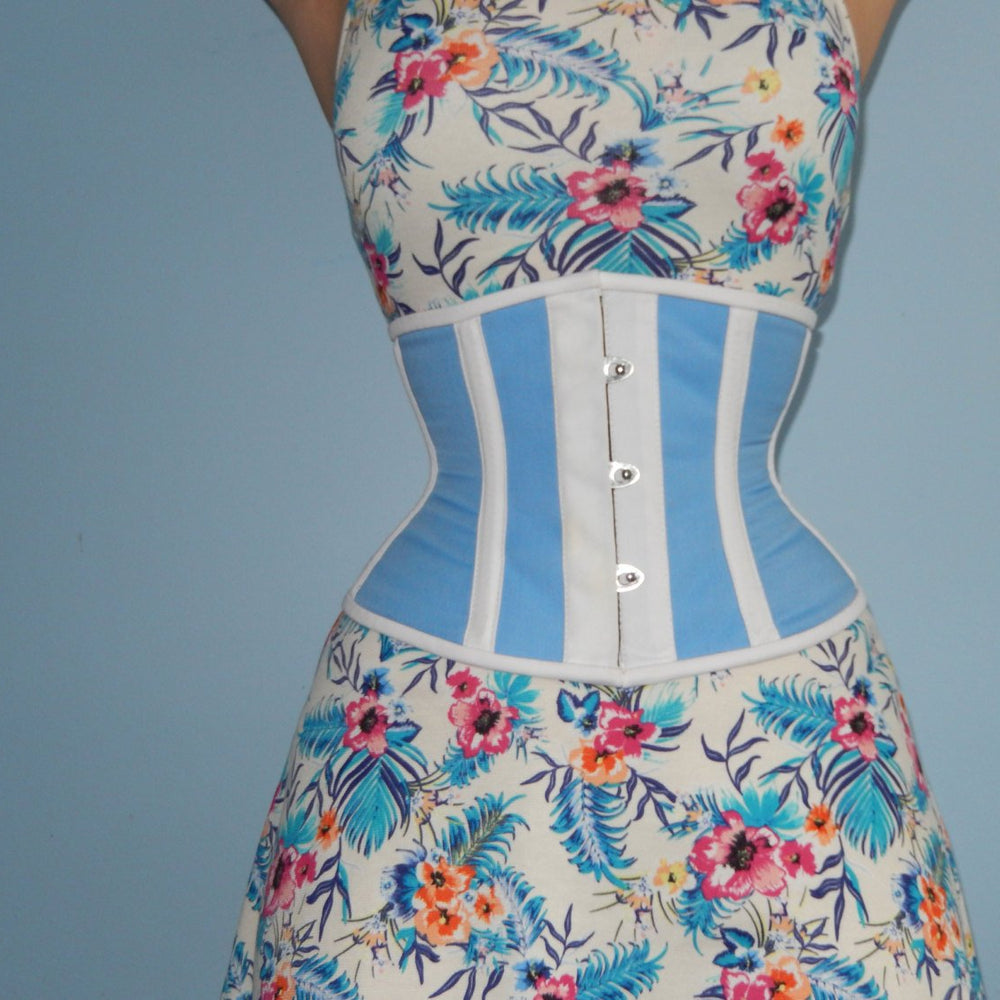
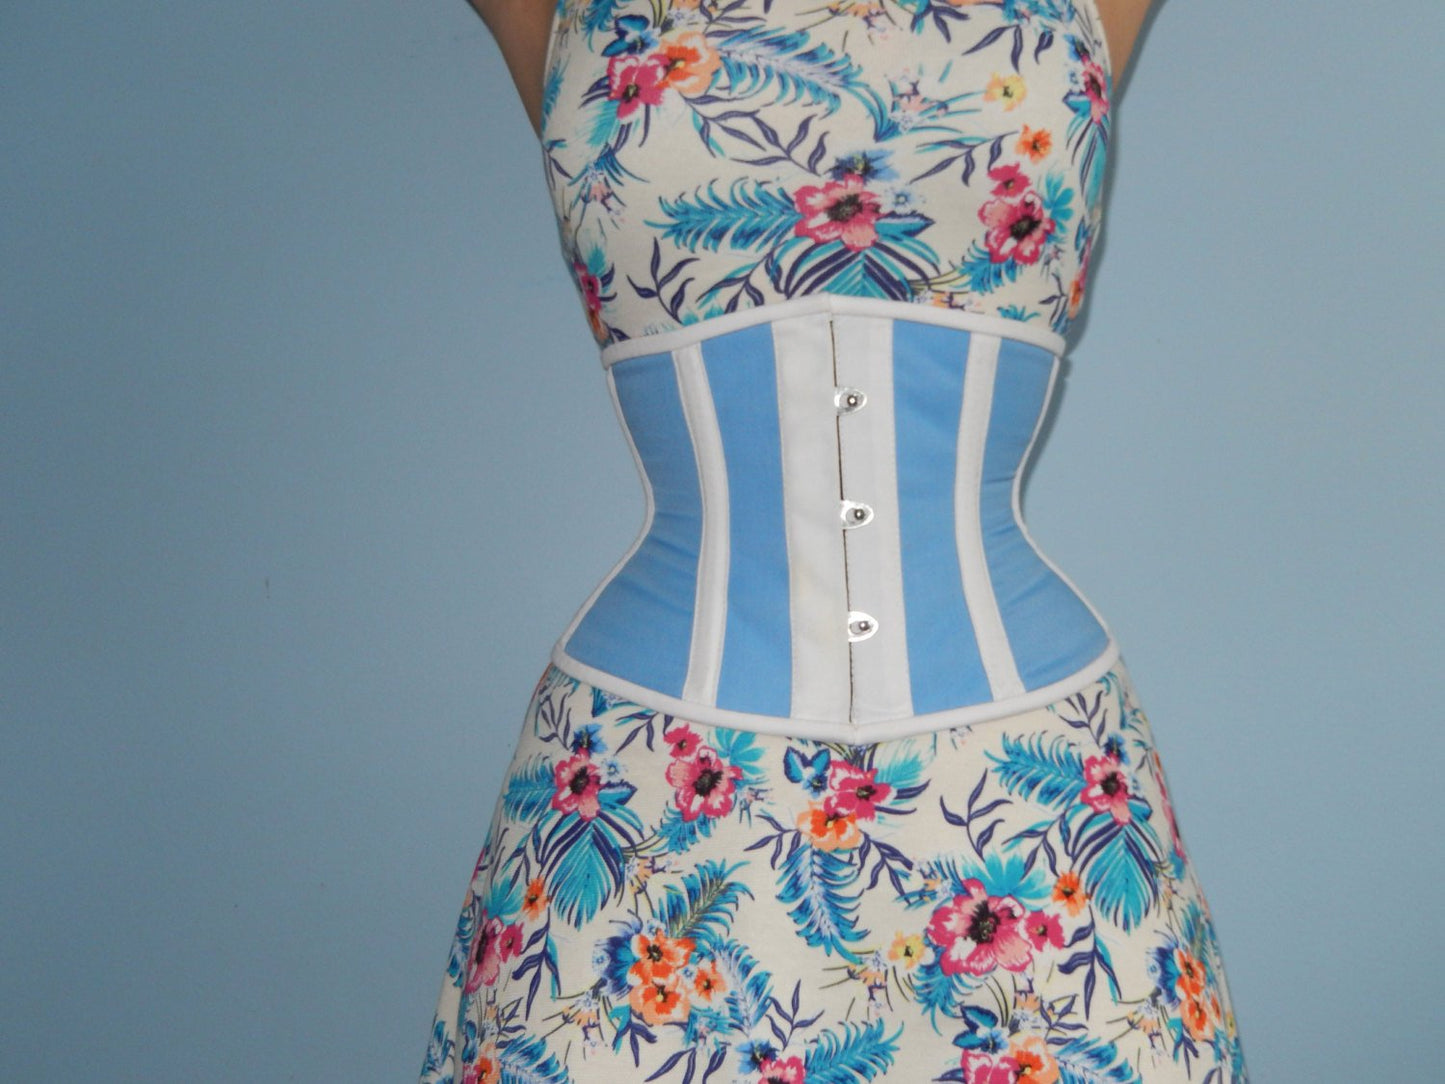
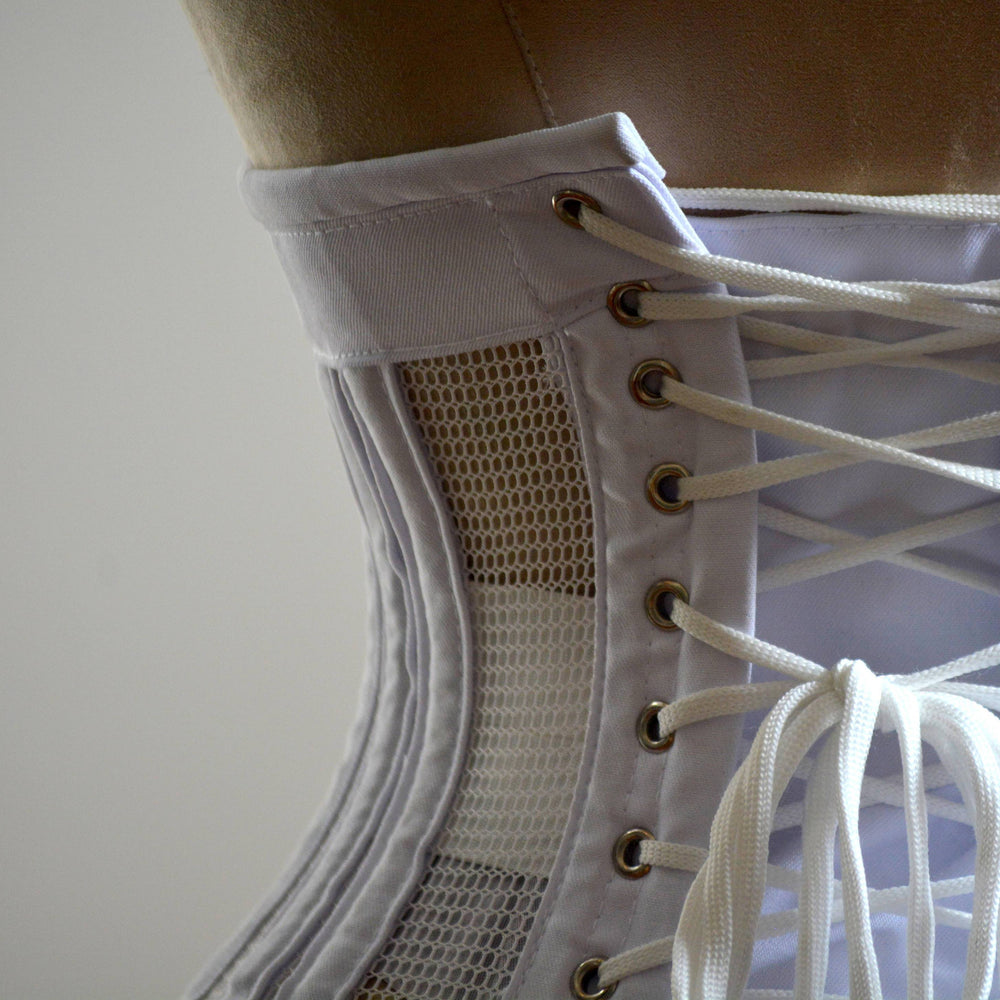
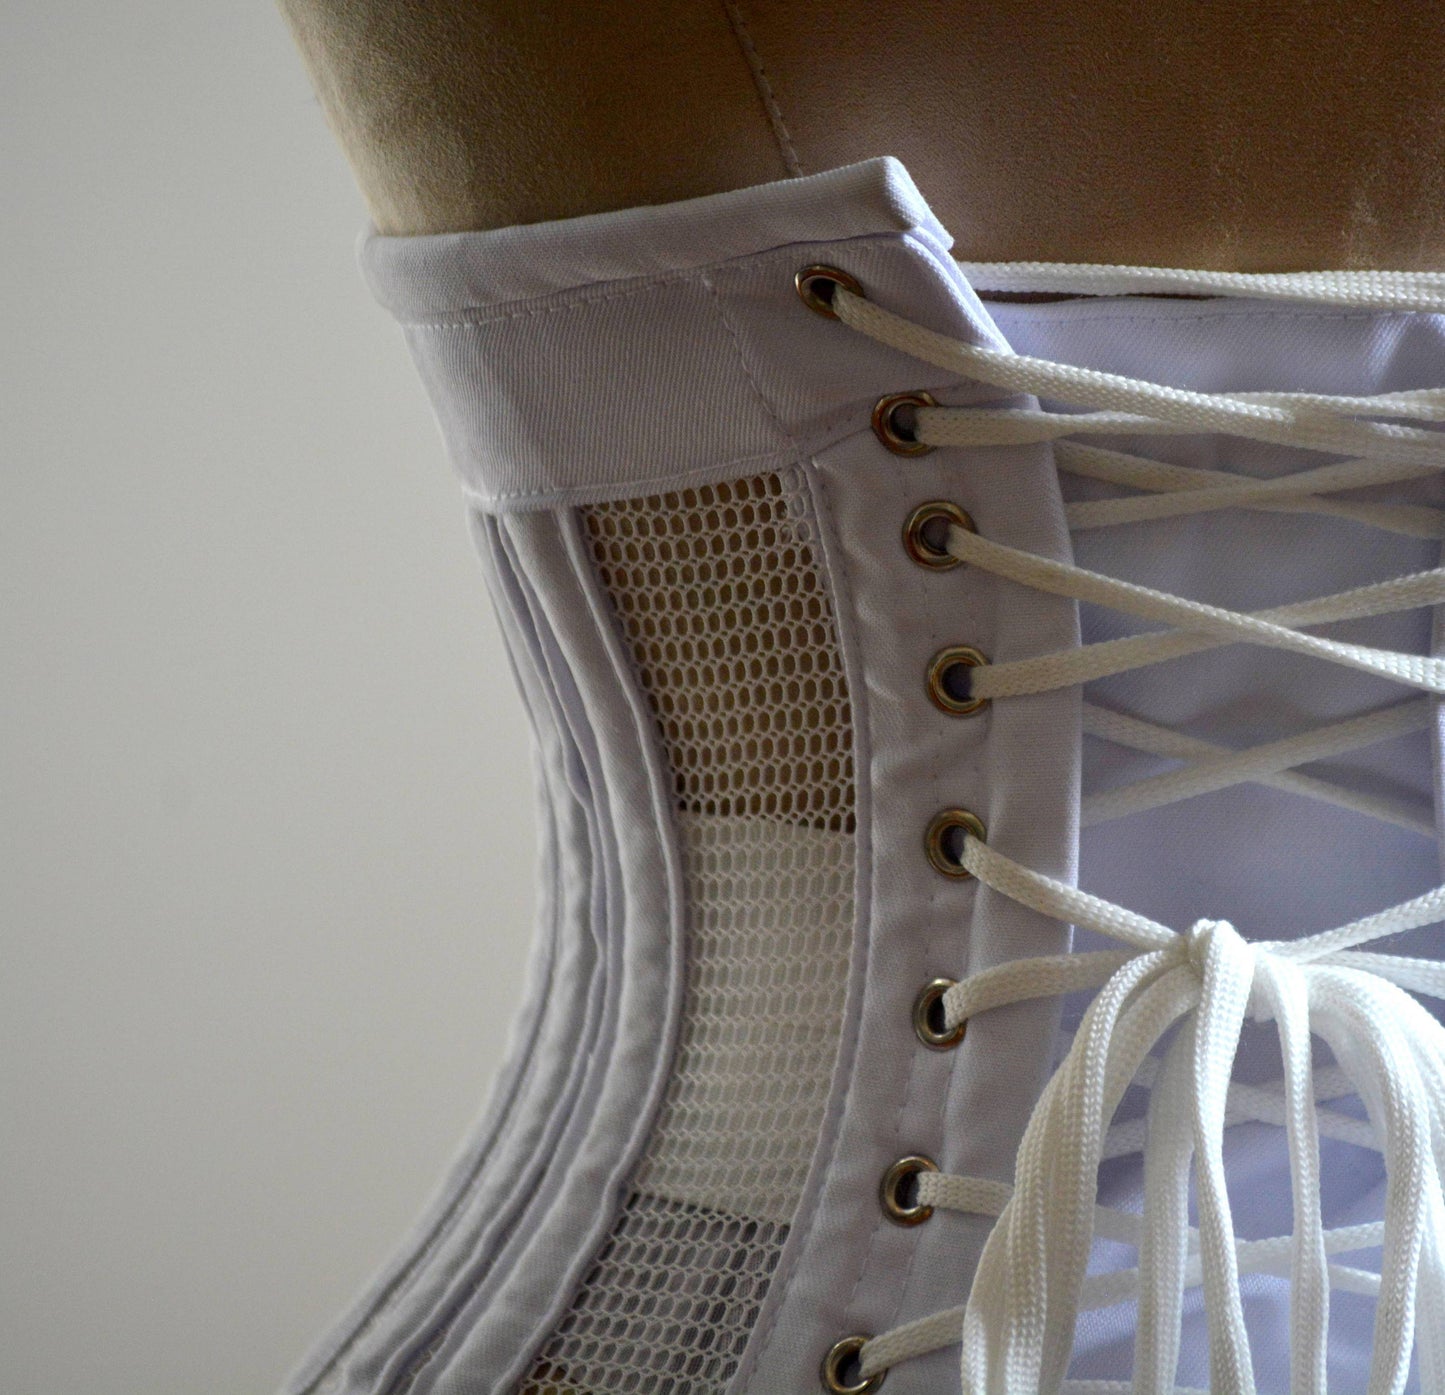
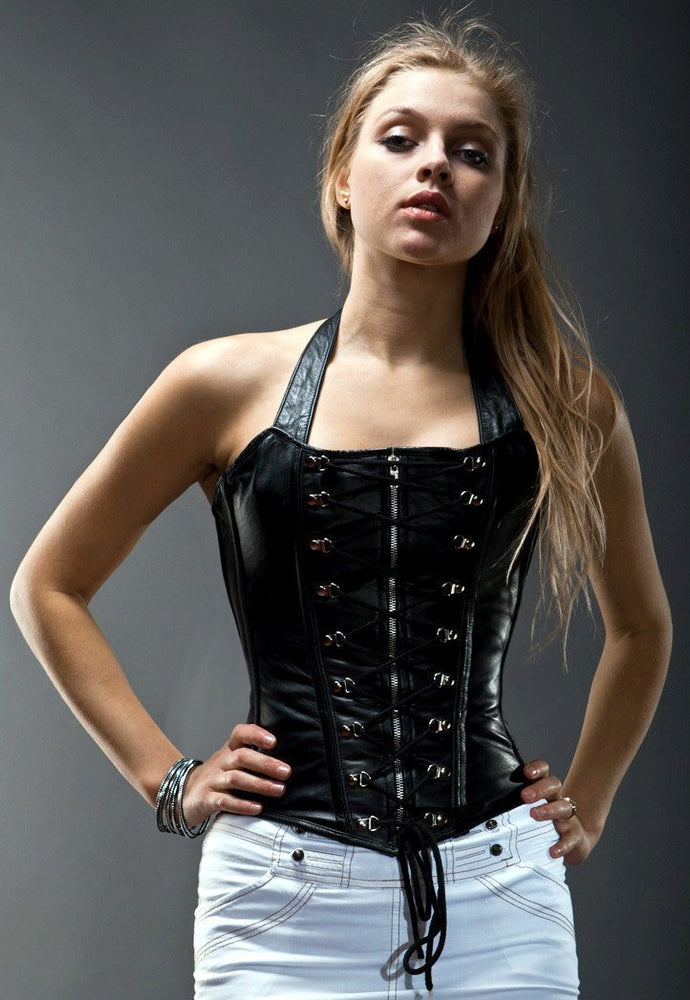
There are a lot of ways to lace up your new corset. We will offer you some of them and explain corns and prons of each. Our guide will help even complete beginners and it will take just some time for you to decide how you want to lace up your corset ribbon. There is way that is more comfortable for tightening corset by yourself or ways that are suitable if you can apply for somebody’s help.
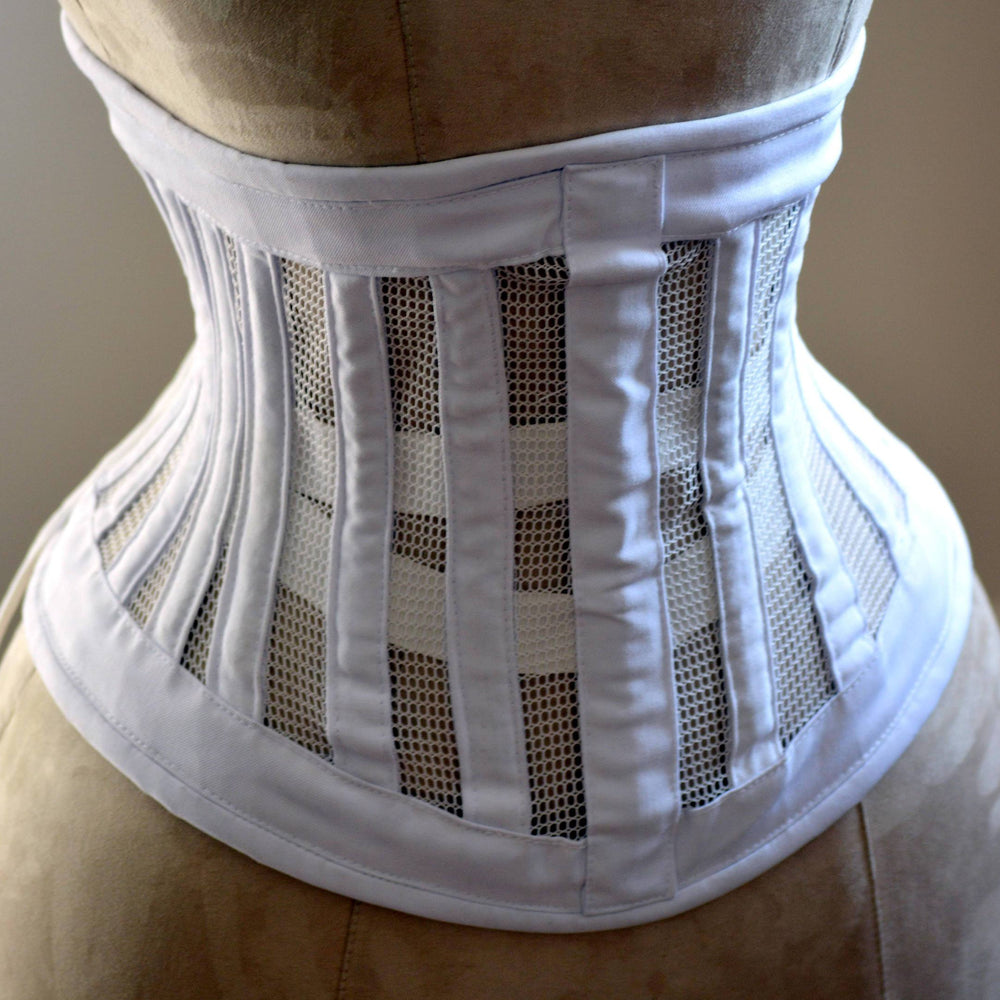
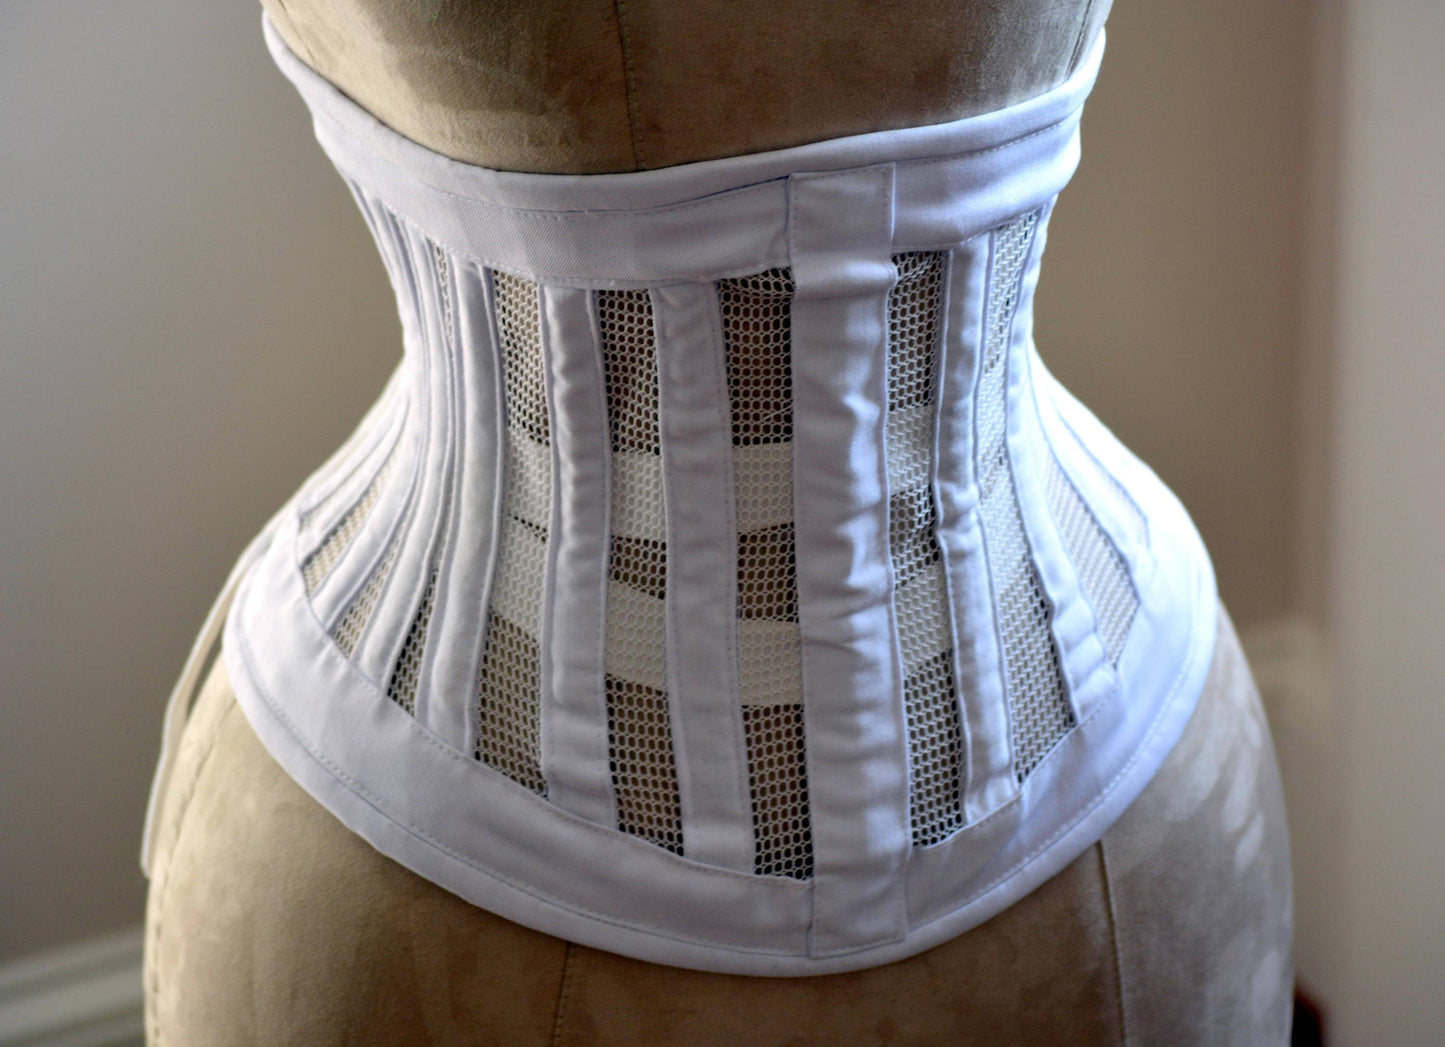
There is a special hard corset tape including with each of our corsets. But you may buy another tape if you wish to have satin tape the same color of your corset. Just remember that thin satin tapes that are sold in every fabric shop can be used for tightening your corset only once or twice and will be suitable if you wear it on occasion or wedding. Our lacing corset tape is much firm and was designed specially to provide real tightening of authentic corset. Please remember that you need only one long piece of ribbon for lacing corset, don’t cut it on two pieces.
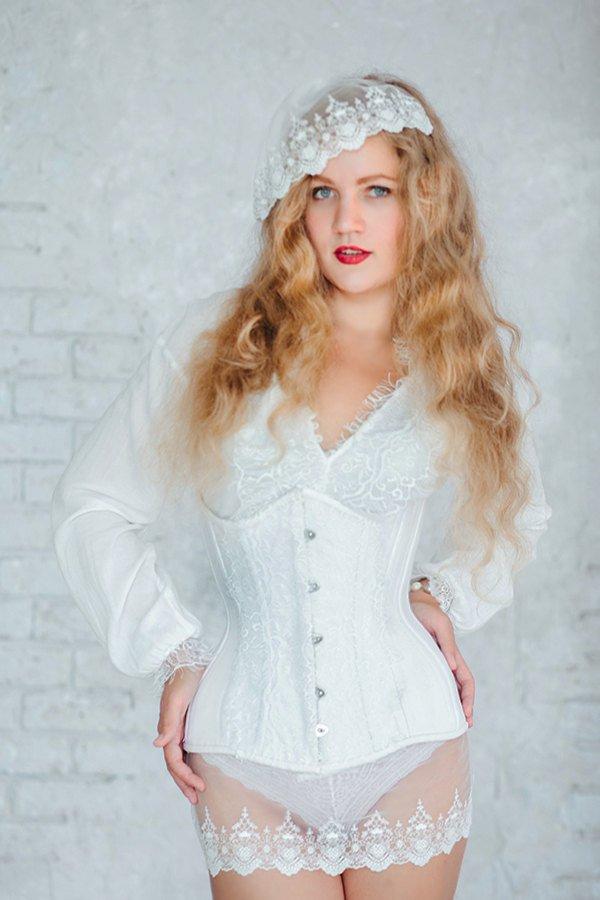
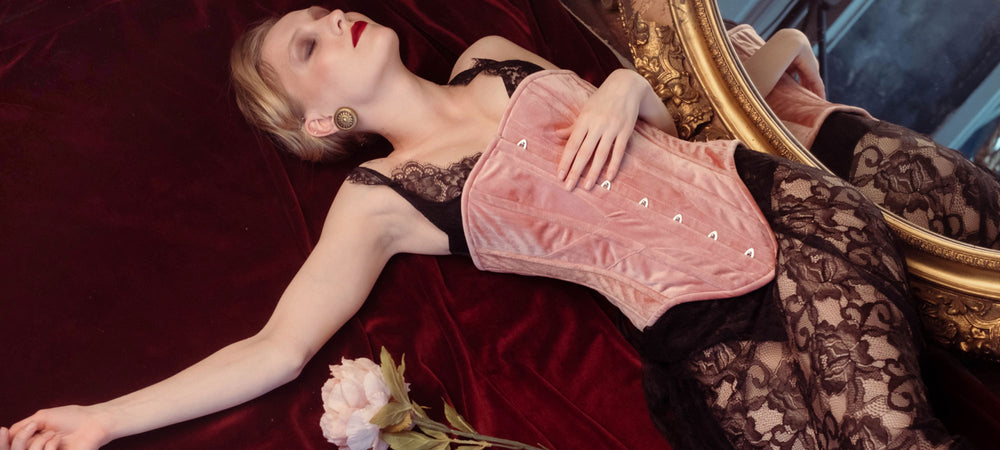
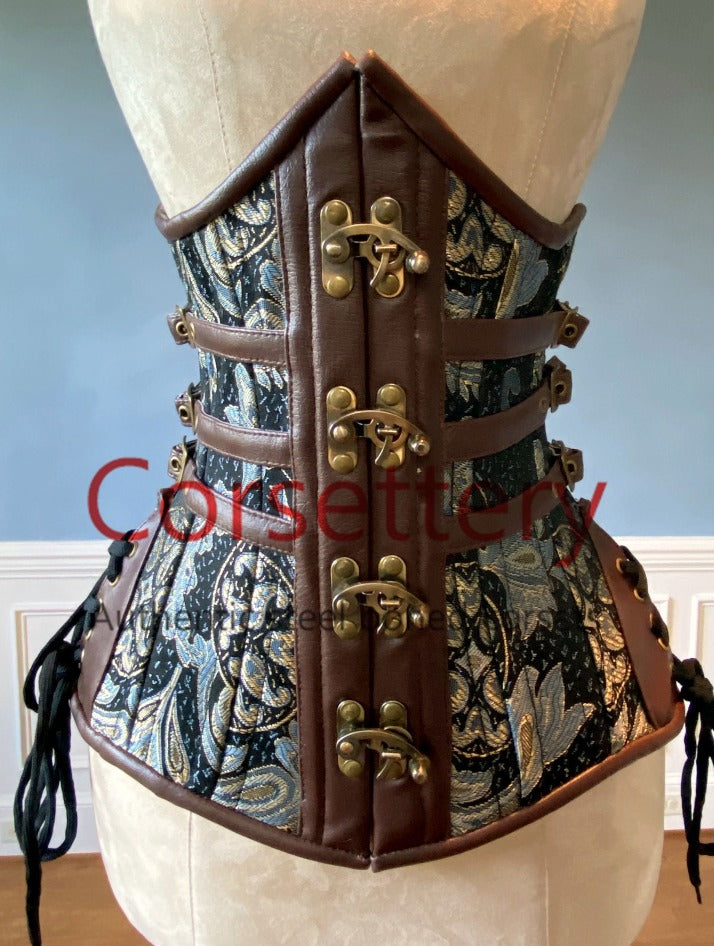
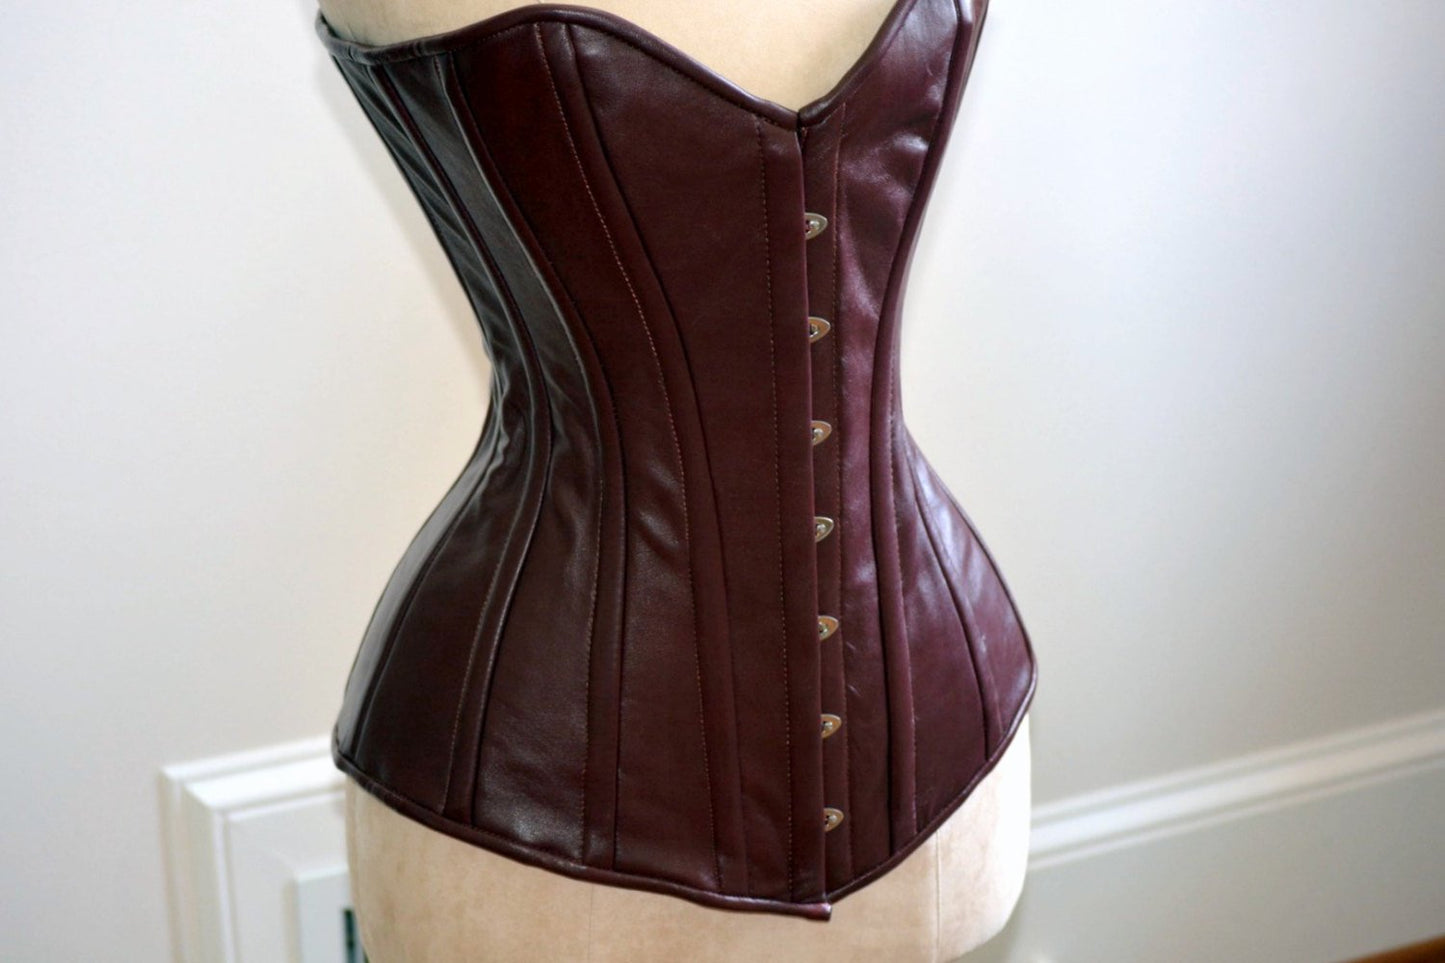
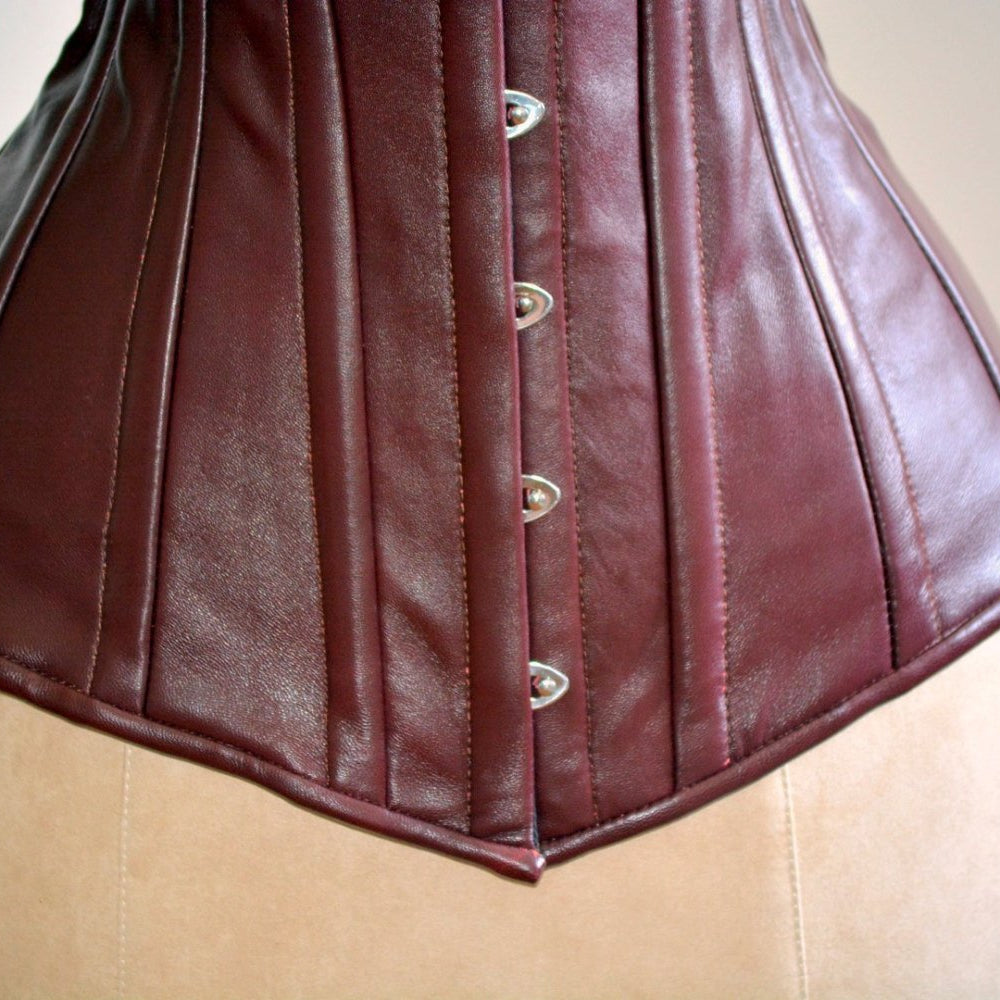
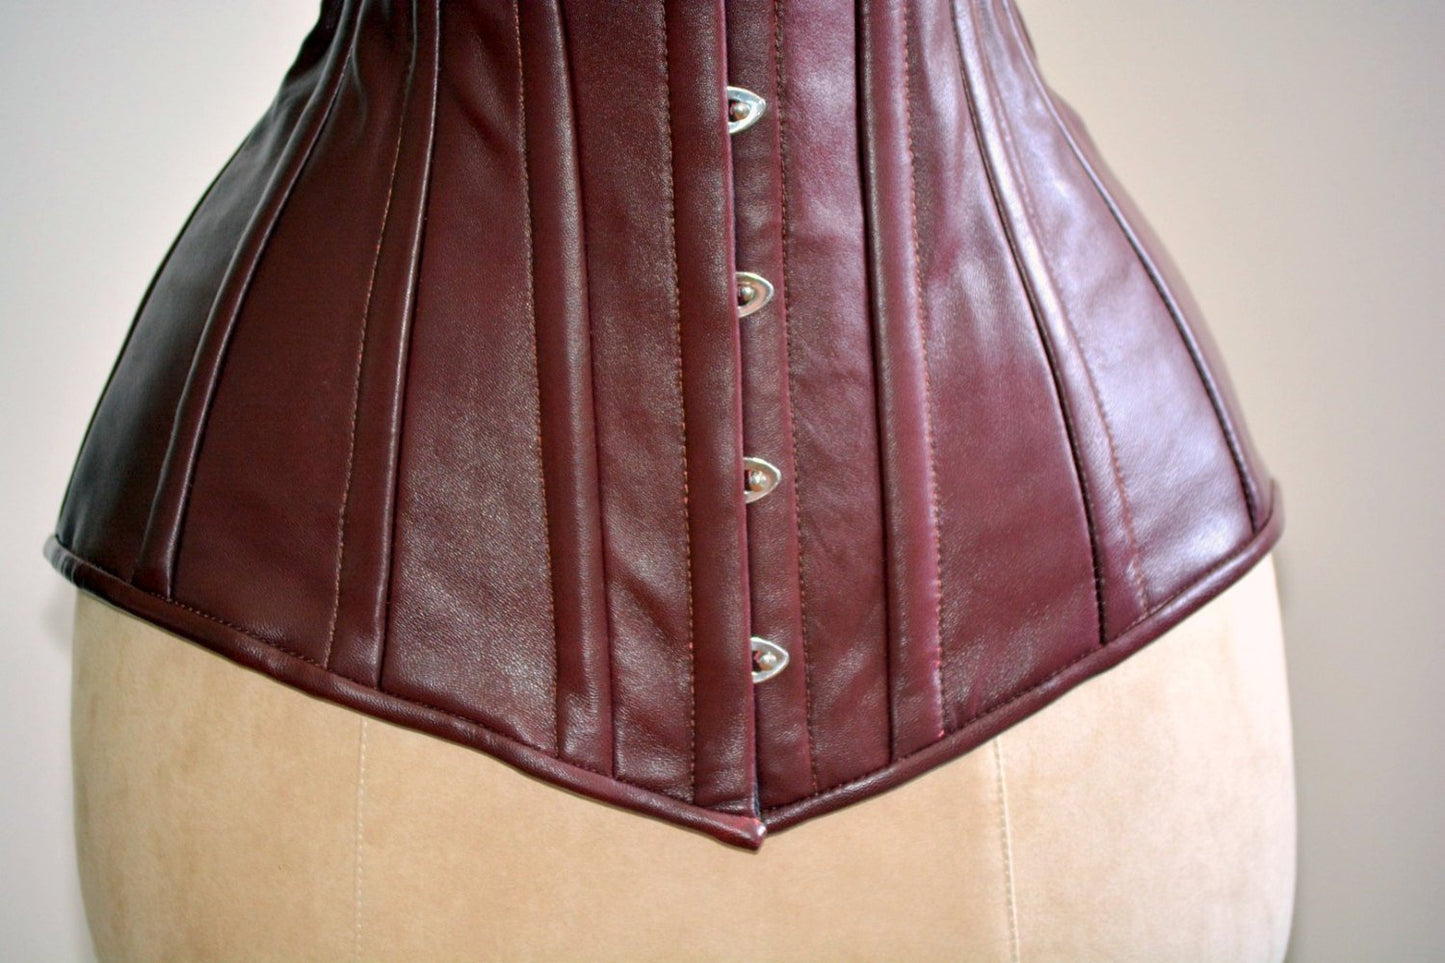
Purchase laces (chords) for your authentic corset.
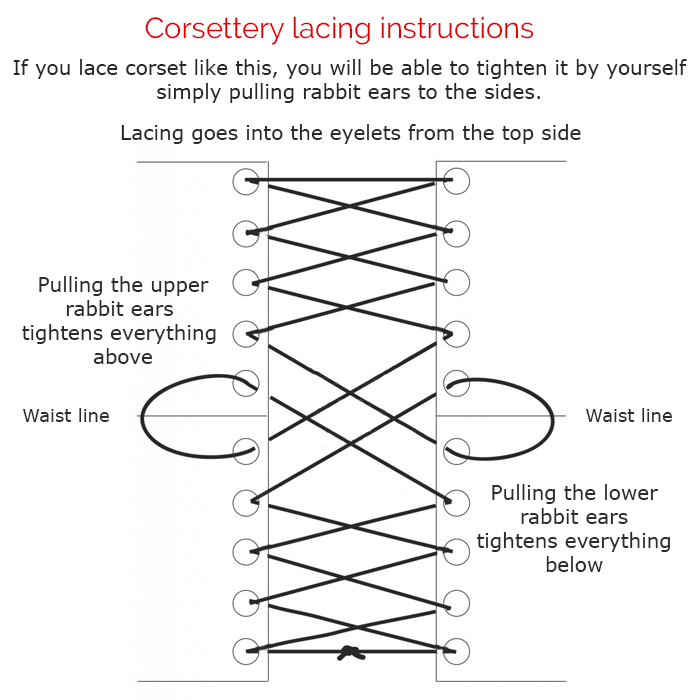
Ways to lace your corset
First way for lacing that is suitable for people who wants to tighten their corset by themselves.

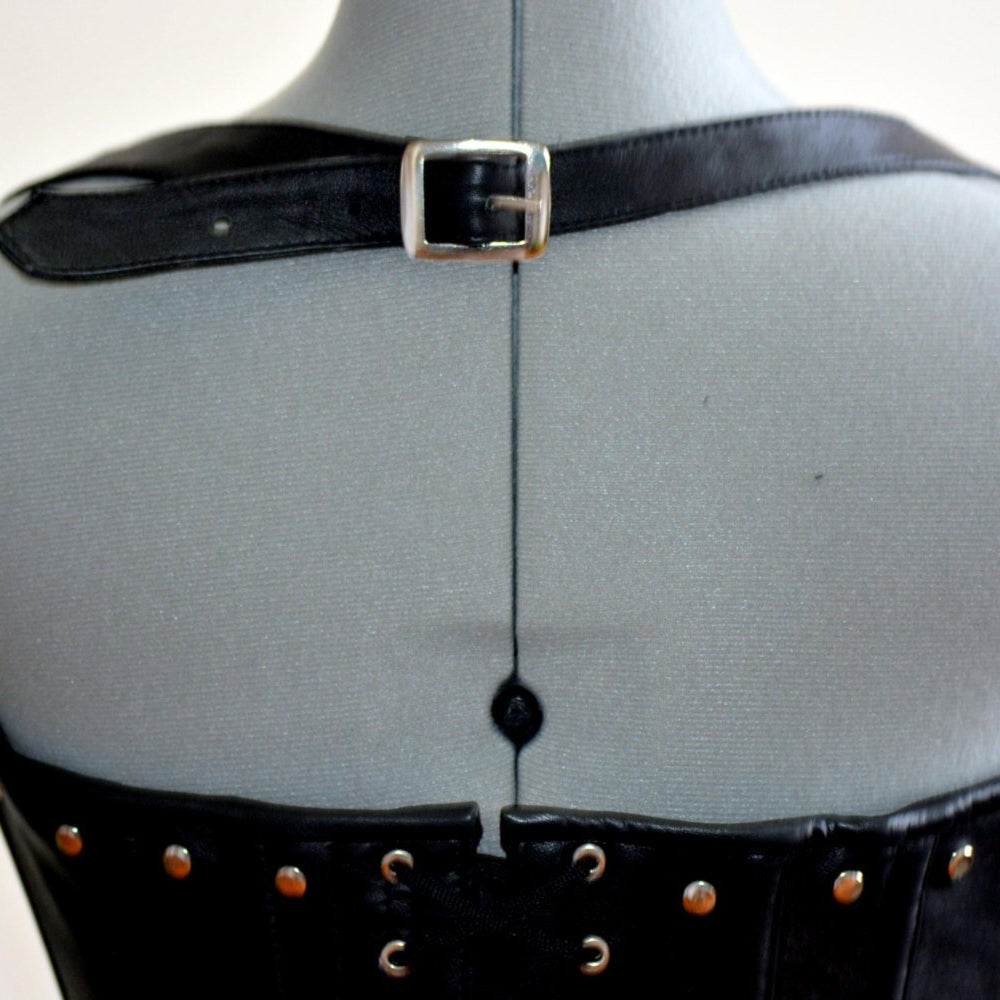
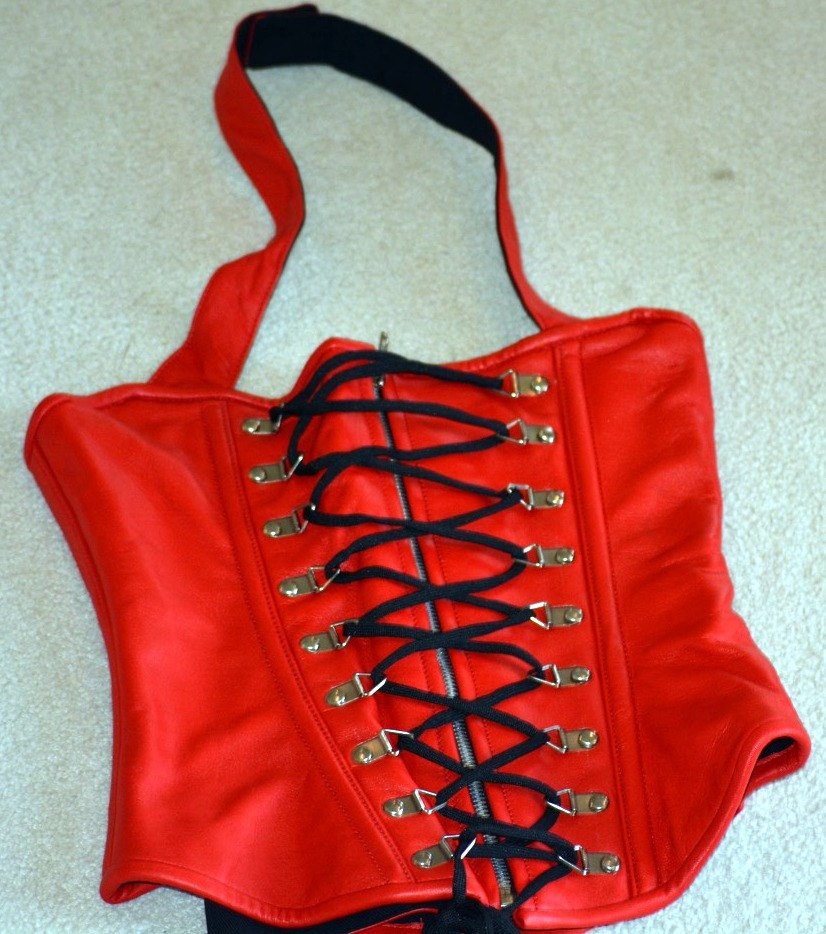
- put your corset in front of you at the table. Upper part (where labels are) above and bottom (where some corsets may have special loops for stockings suspenders) below.
- find the middle of your lacing cord.
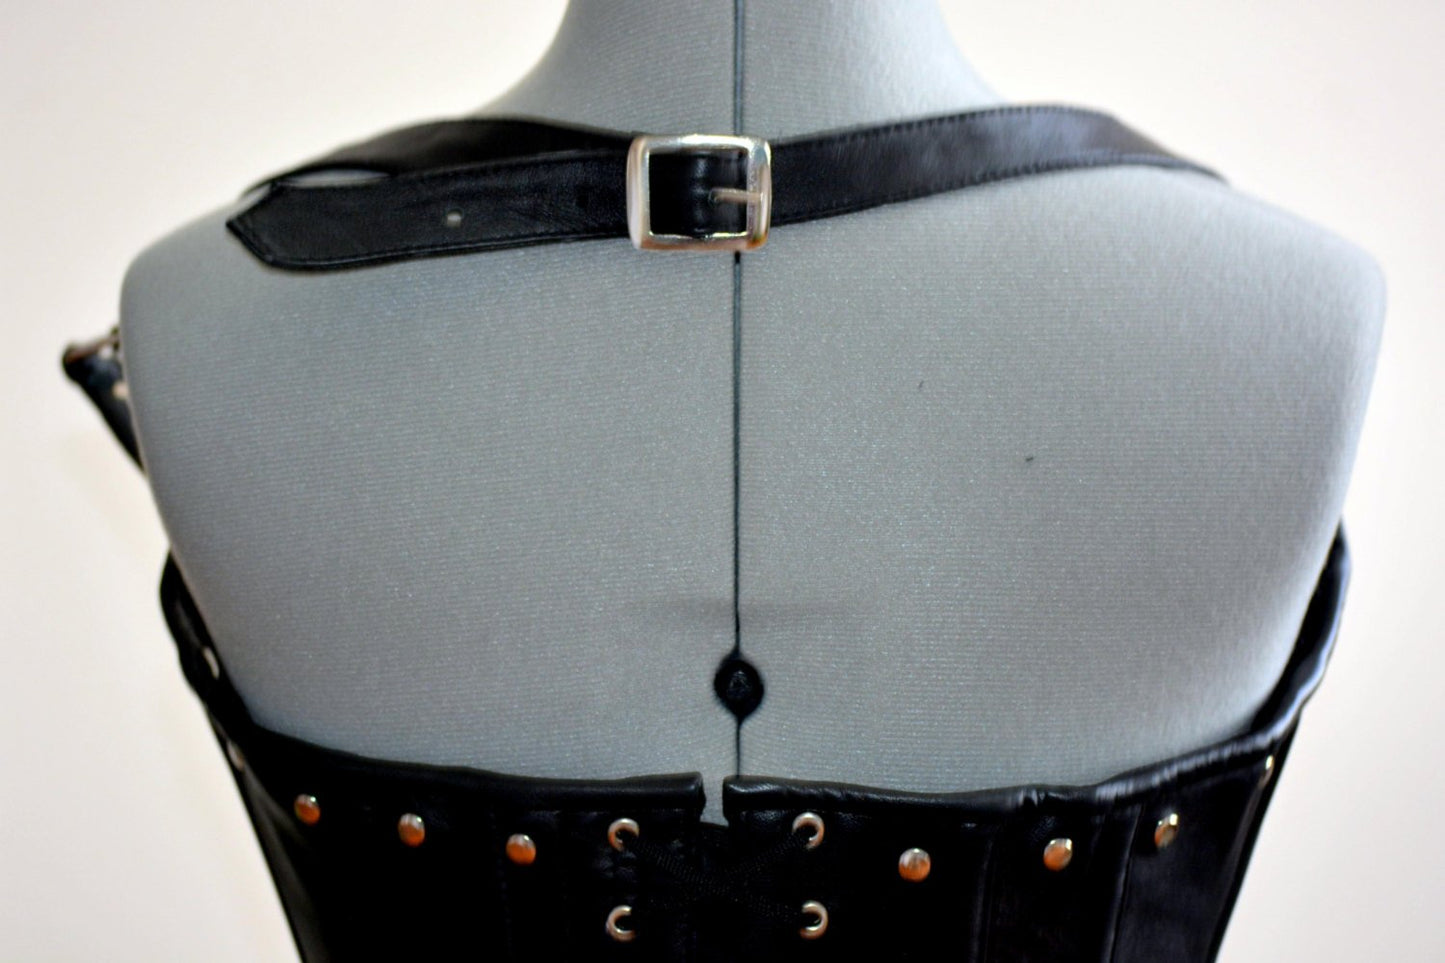
- start lacing corset from above, leaving nearly 2-3 inches between two parts of corset leaving the middle of lacing cord between top holes.
- begin lacing downwards, alternating sides and holes until you reach the waist line (usually it has waist tape in the inner side).
- at this point create a large loop by lacing out and then back into the same side. You will likely end up with a couple of feet of lace on each side. Continue lacing until you reach the bottom of the corset.
- at the end there are two options that you may choose – to tie two ends of cord together or to make two knots at each of the ends.
- when you start to tighten corset on yourself pull loops to the sides with both your hands, it will toghten your corset. Than tie a bow when you finish tightening.
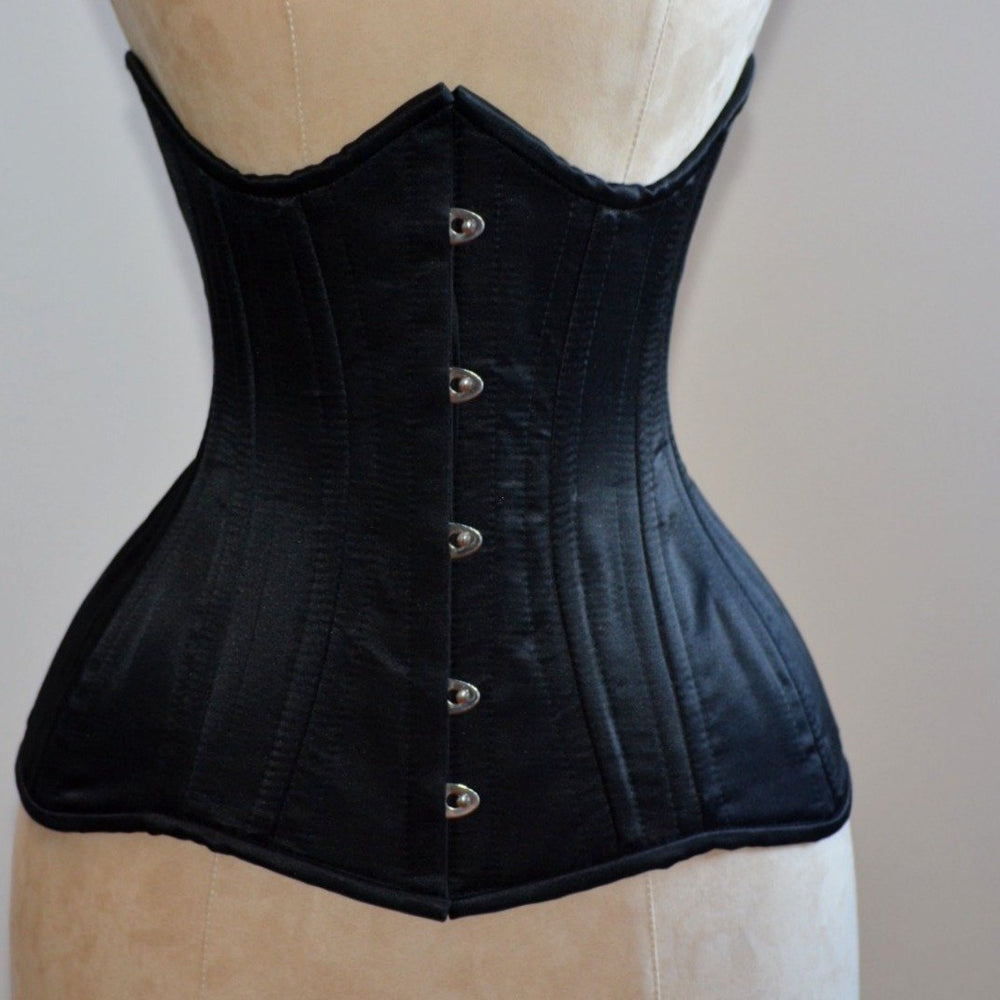
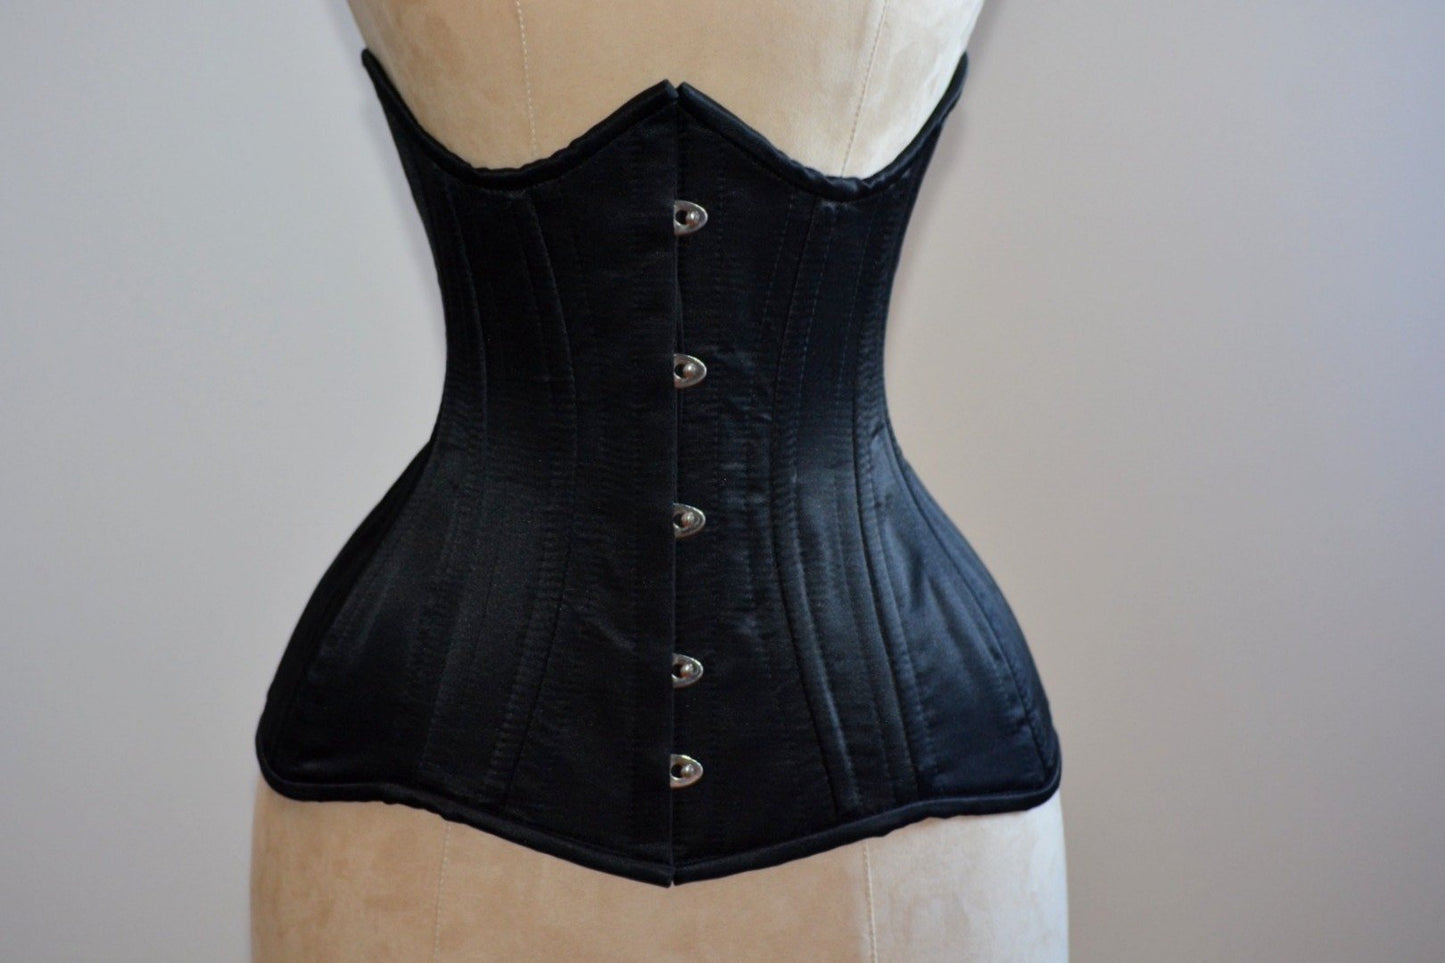
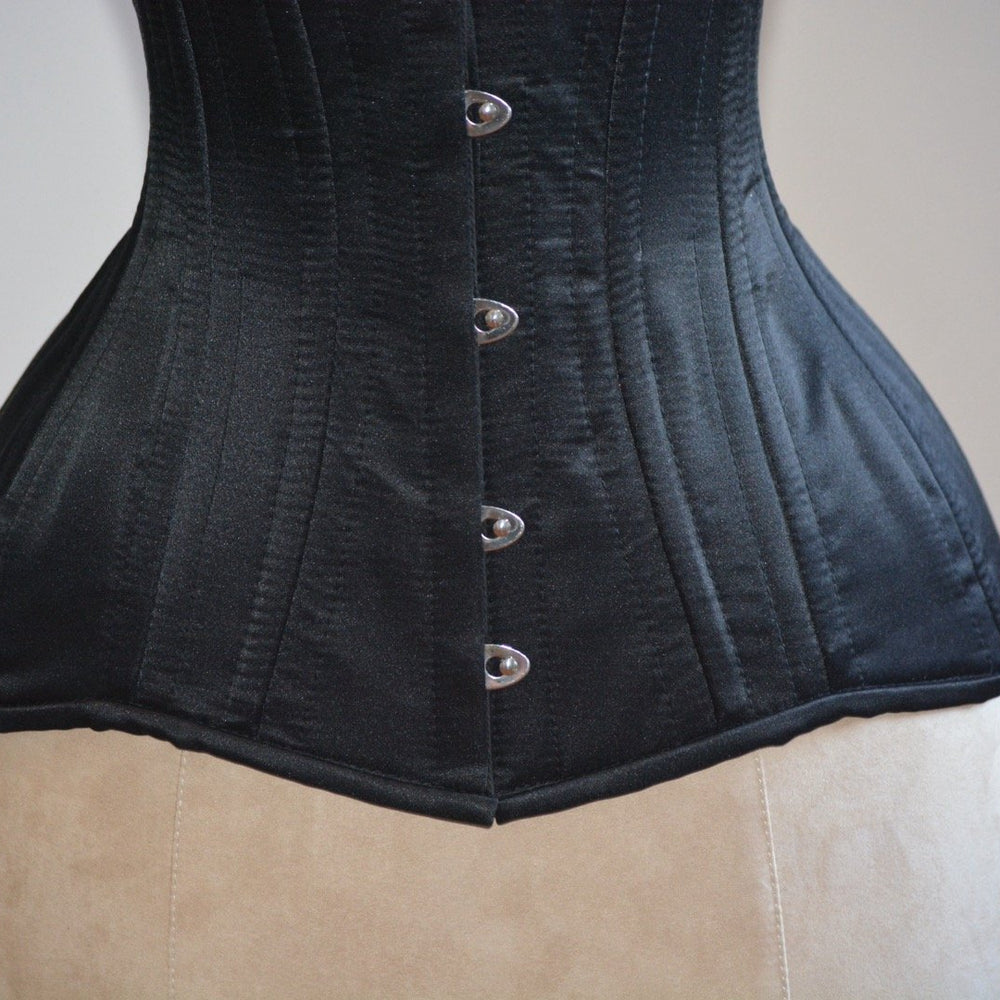
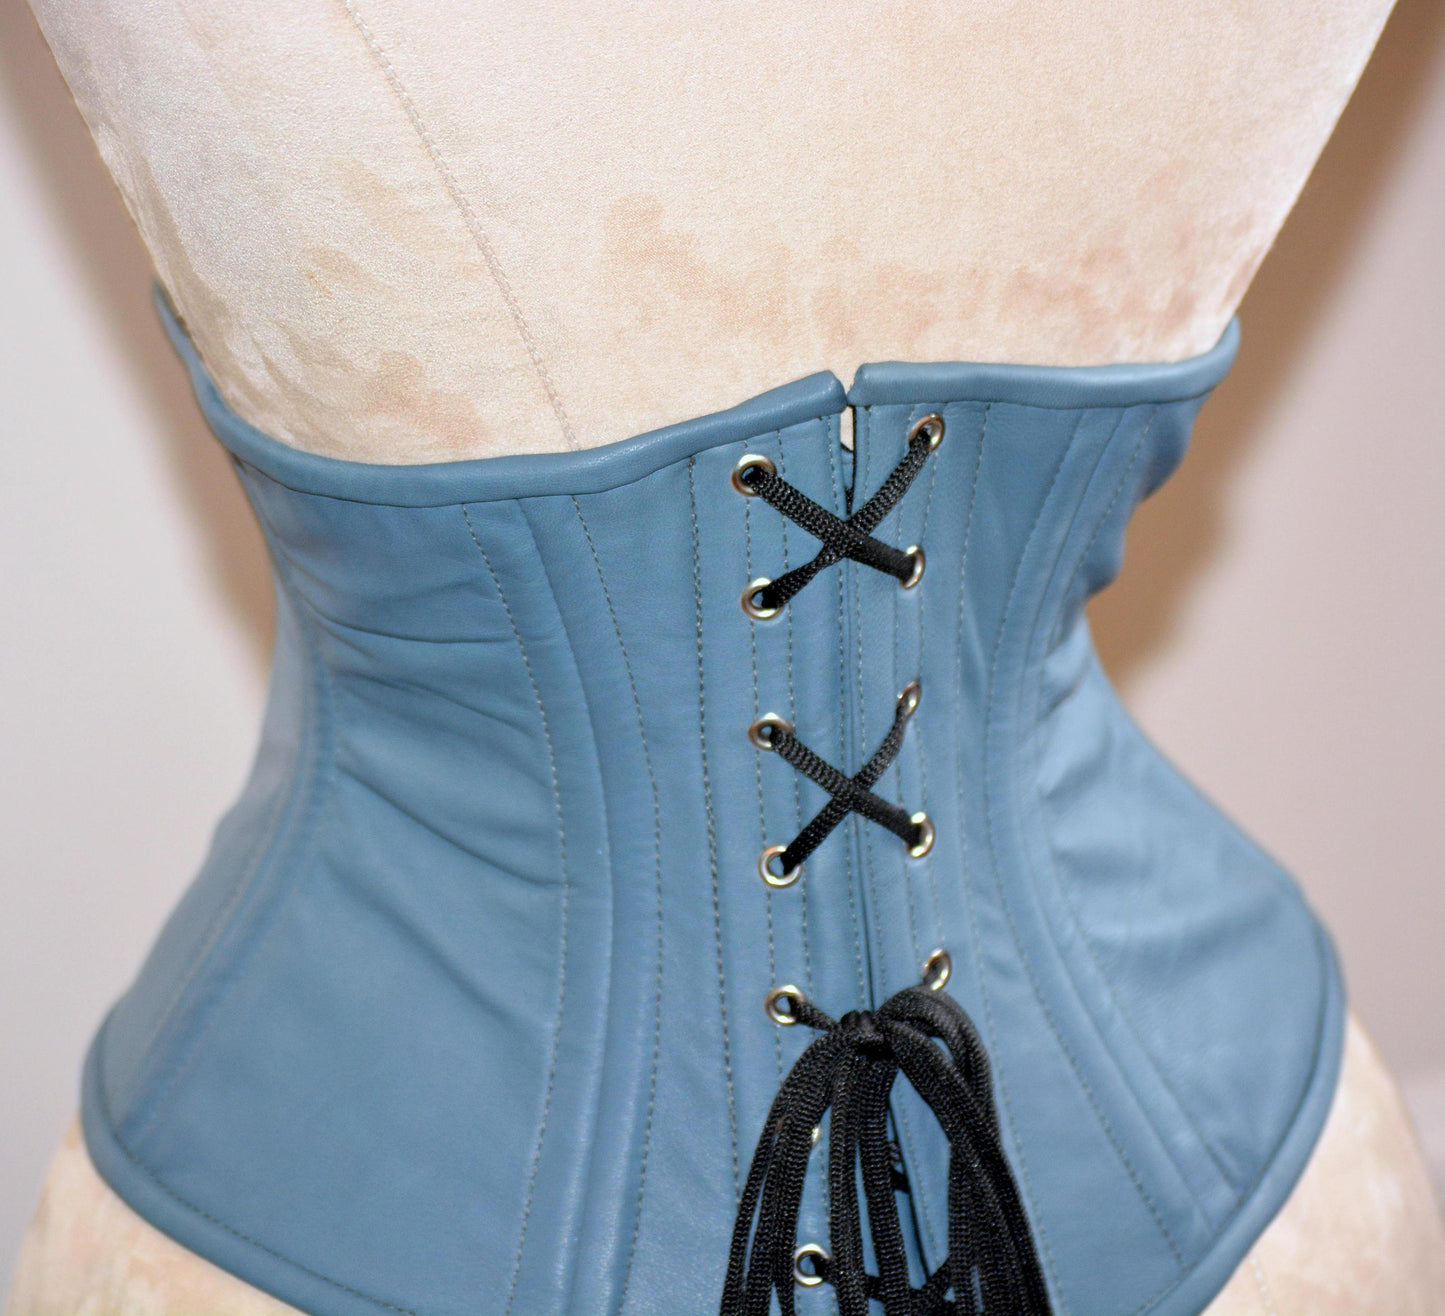
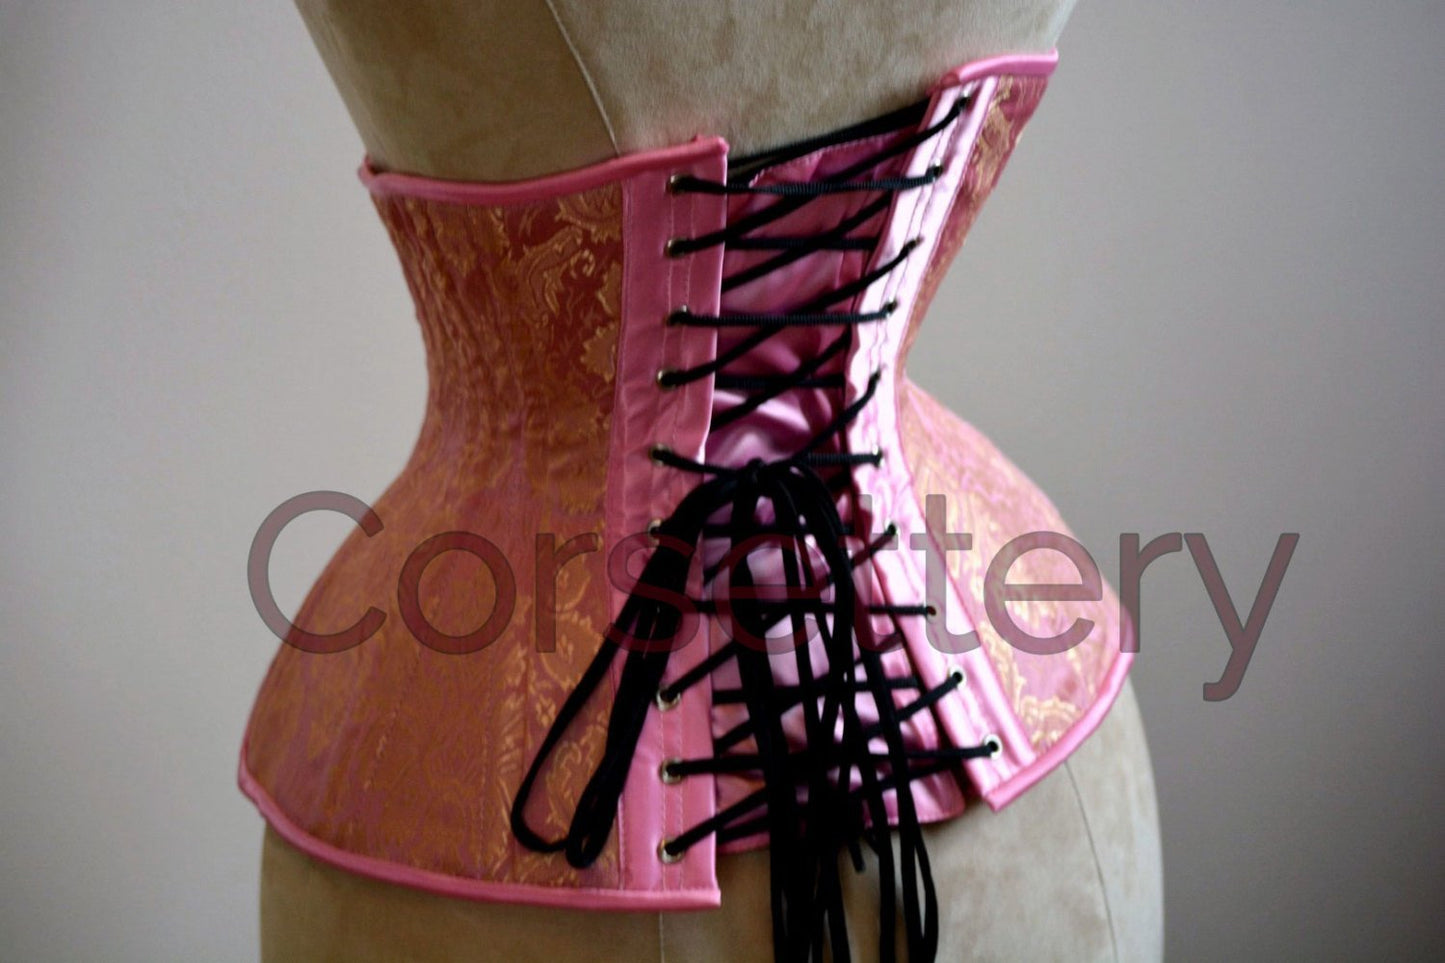
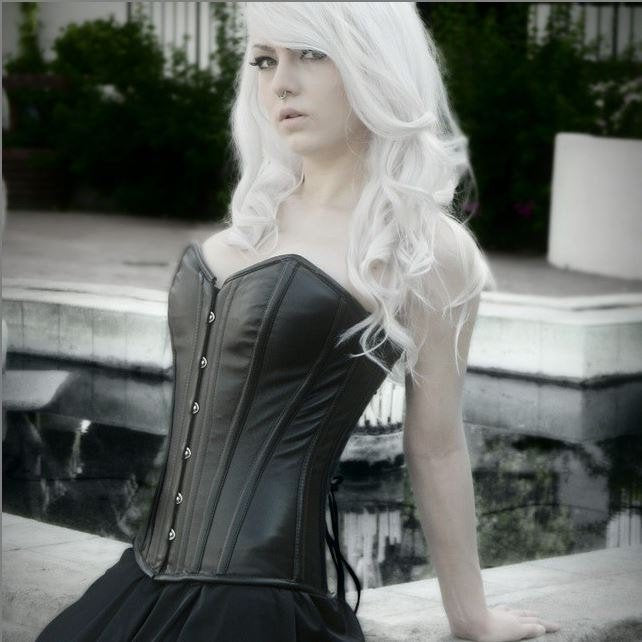
Such way of lacing will look like this on real corset.


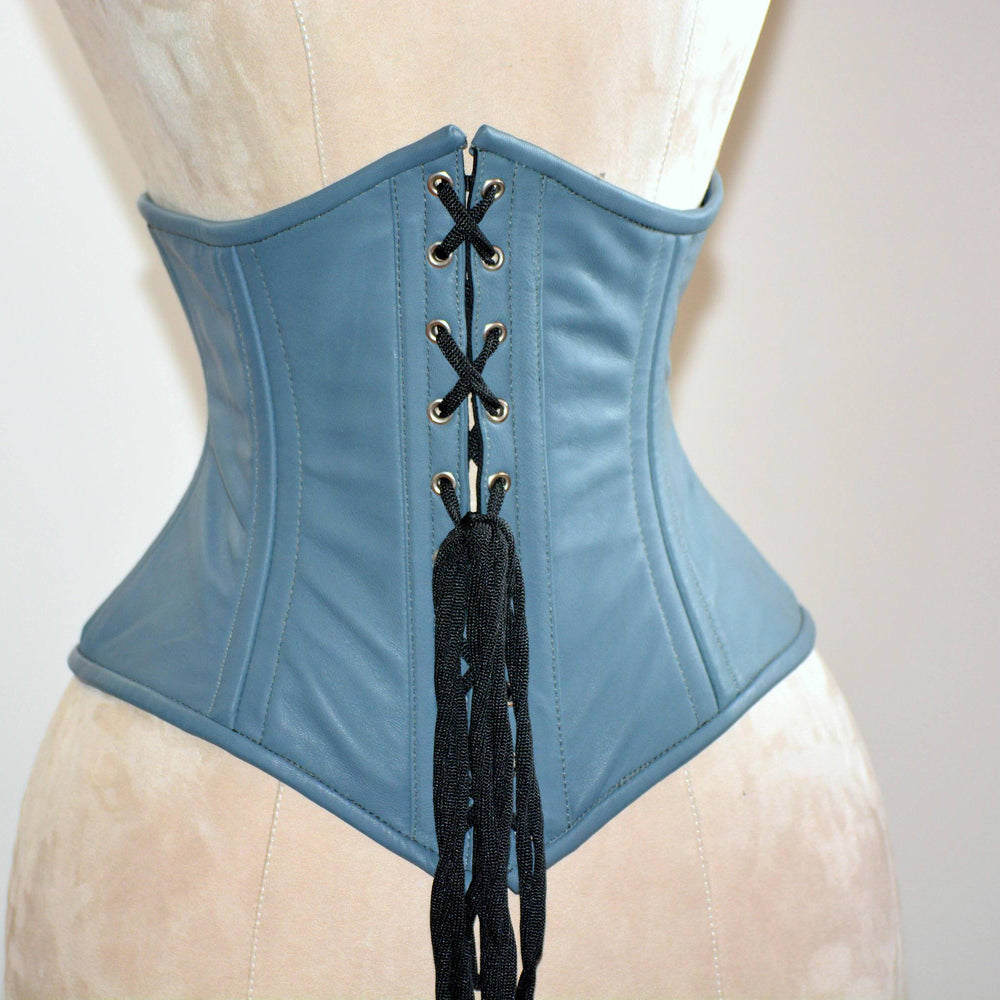
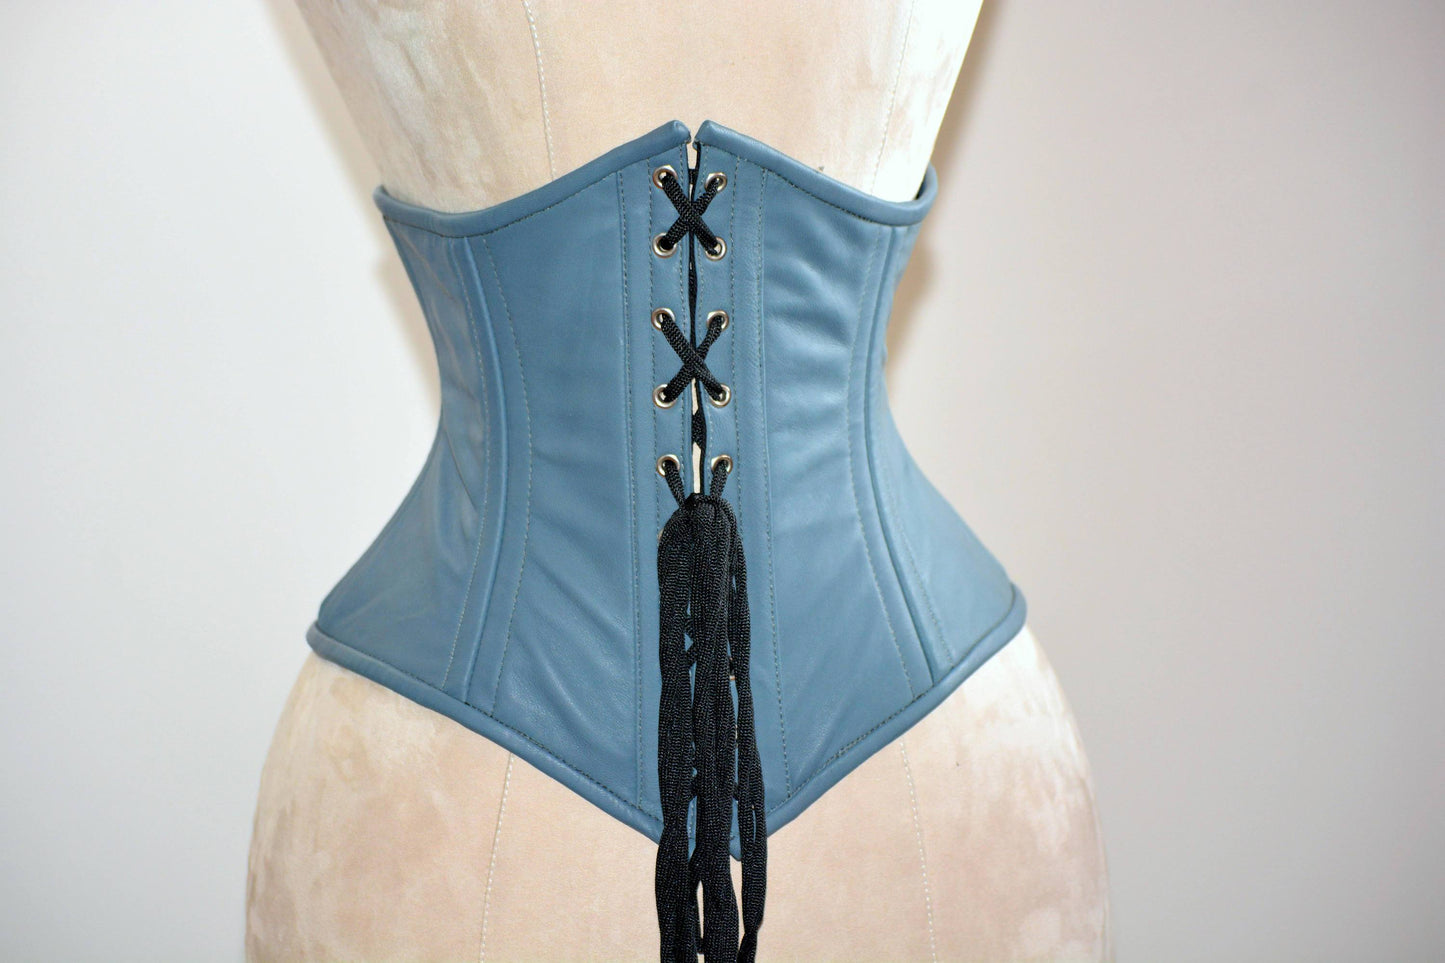
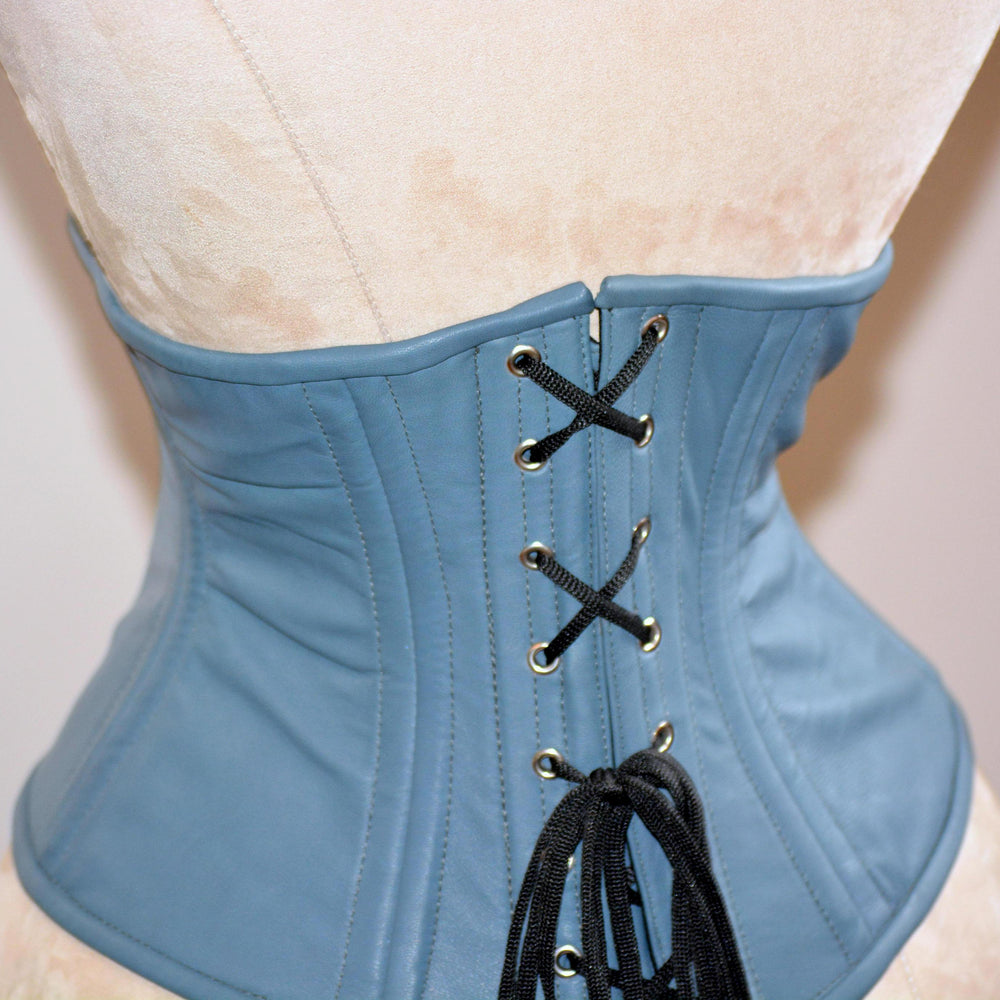
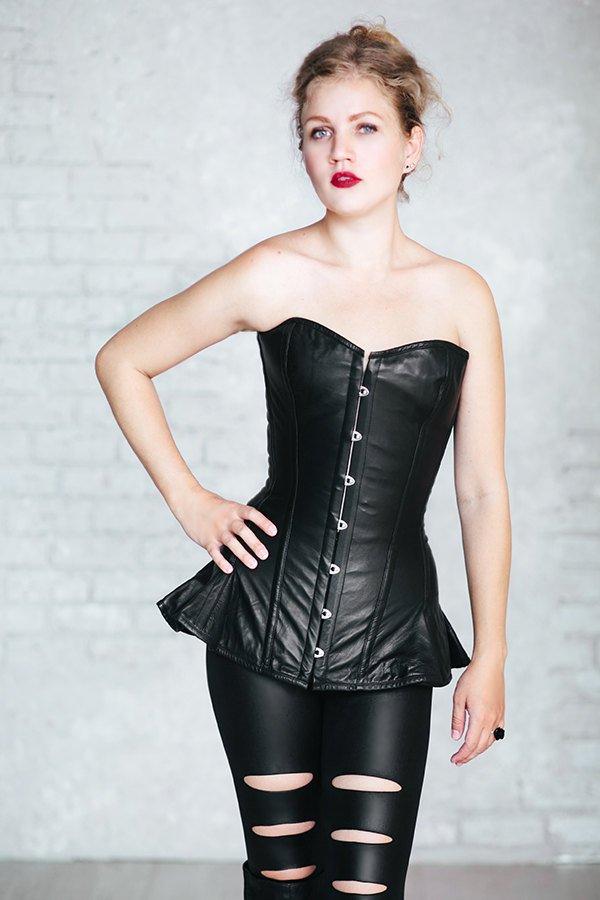
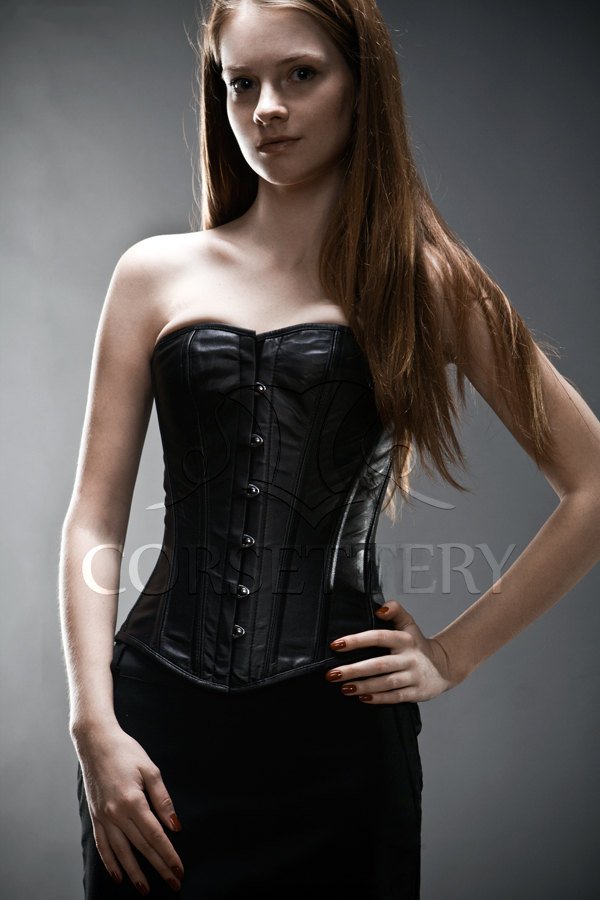
Full Collection Of Heavy Tight Lacing Corsets
Second way of lacing is more complicated to be tightened by yourself and is recommended if you have somebody to help you but it will look beautiful and nice.

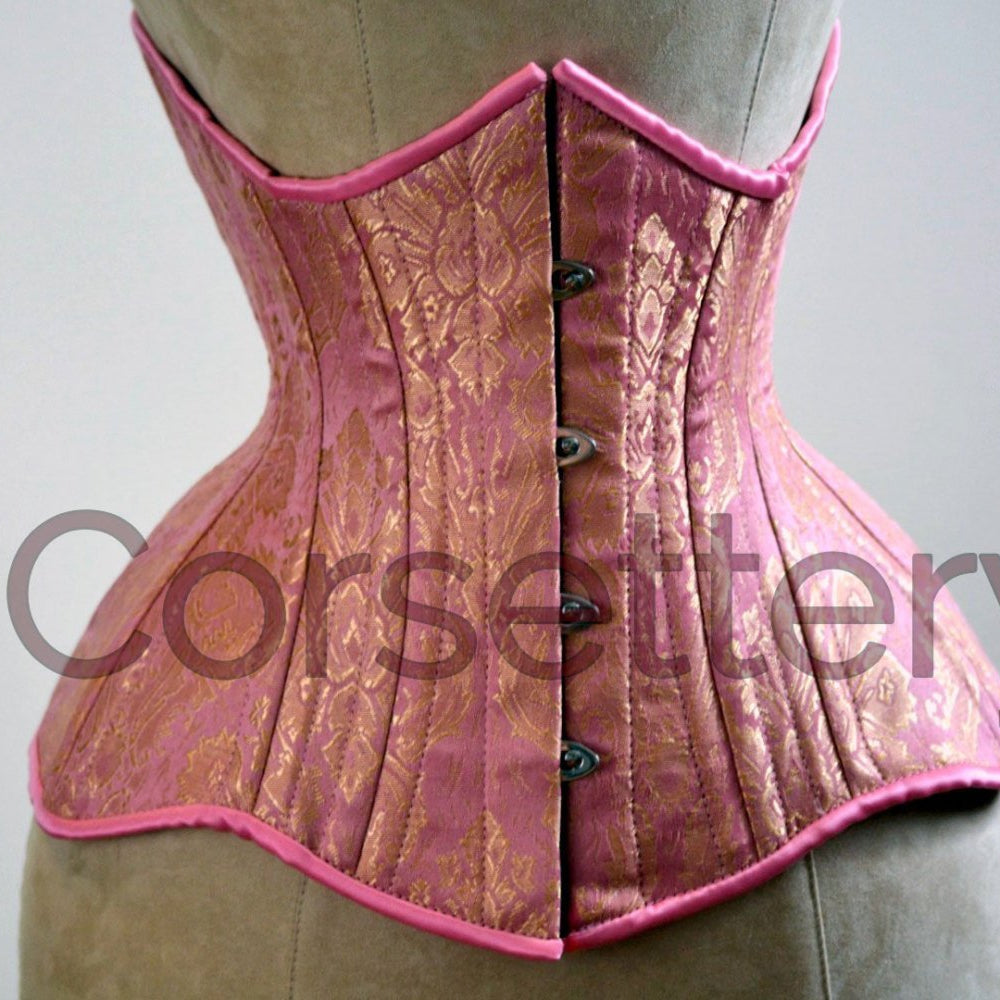
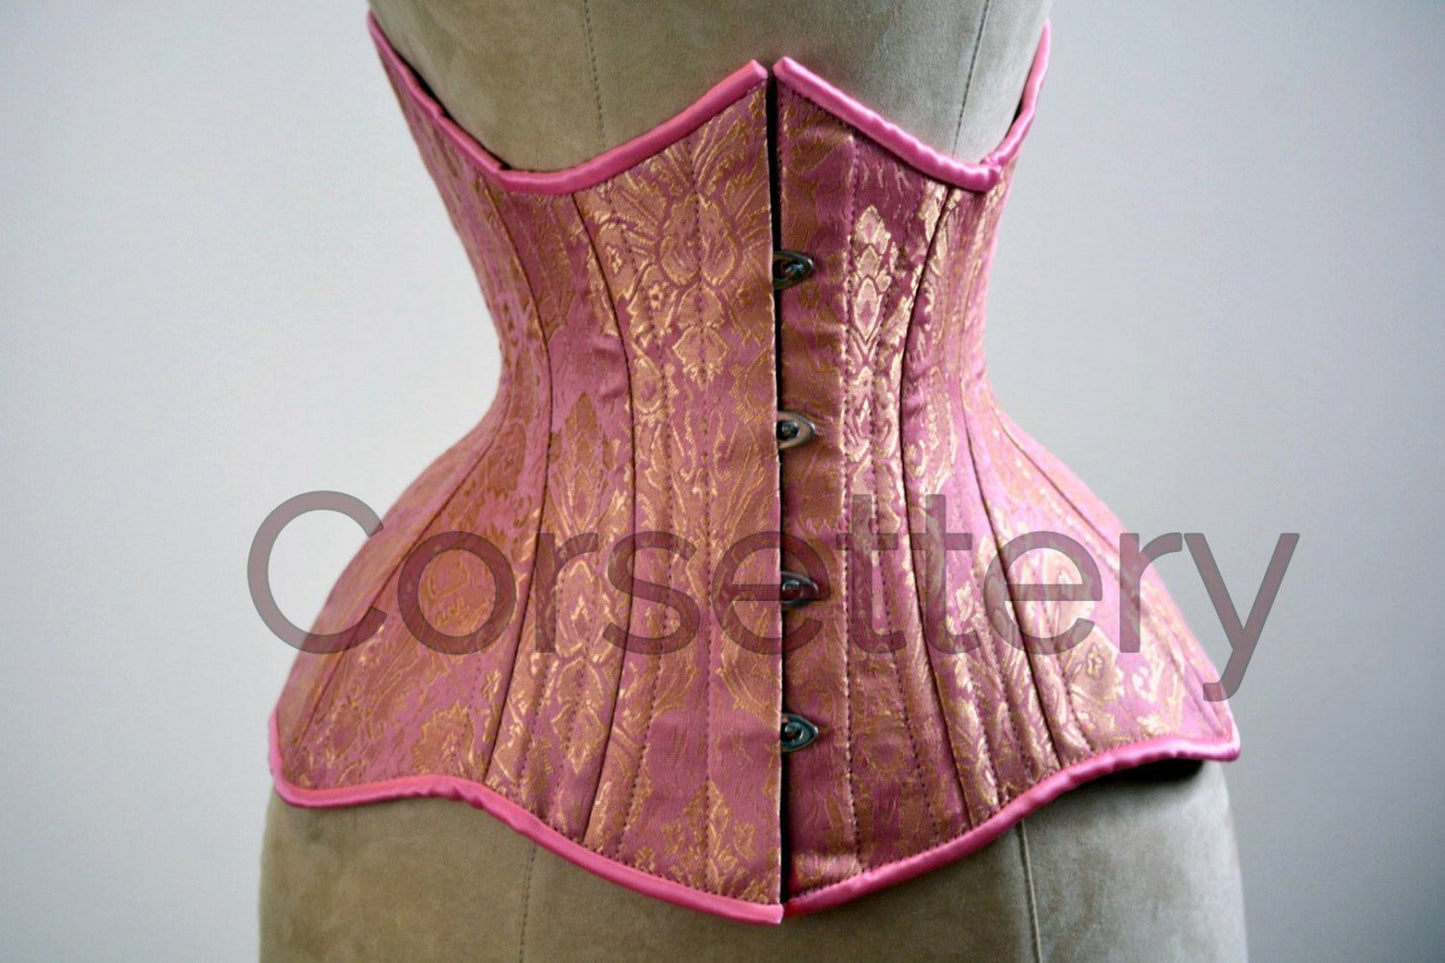
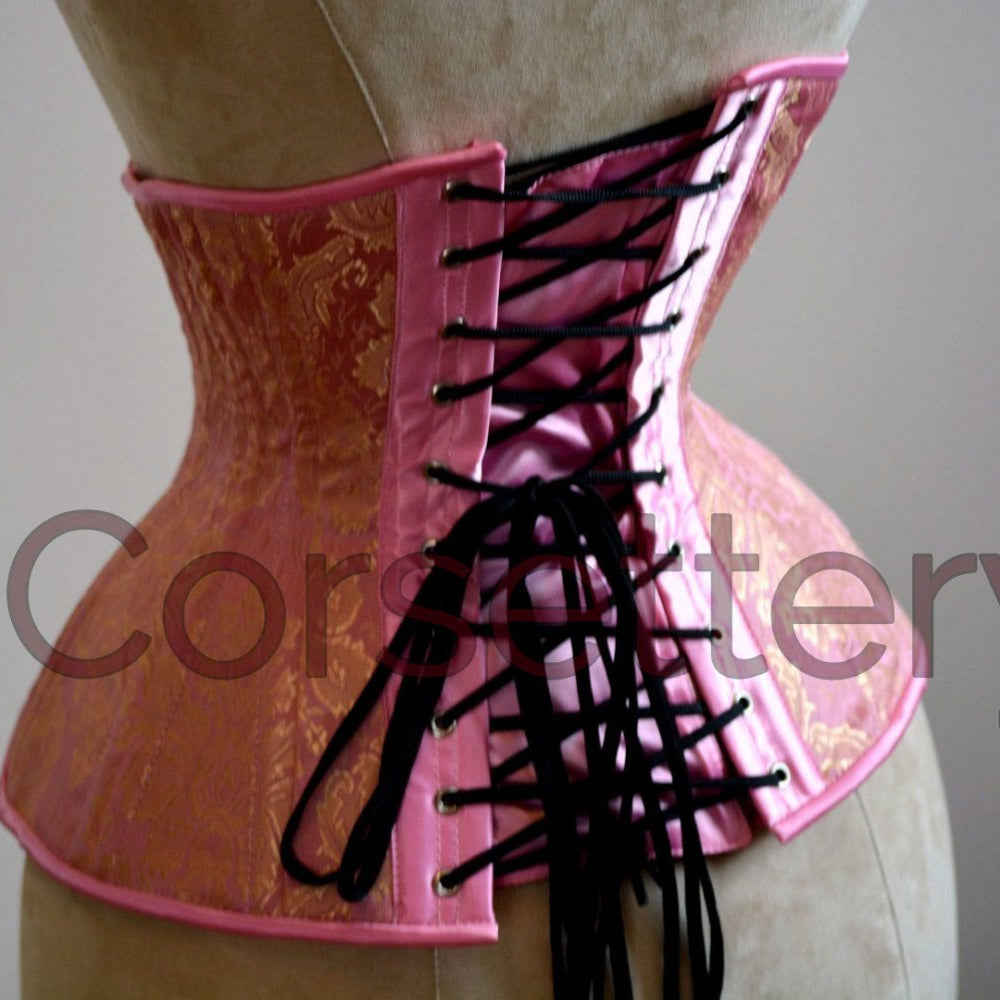
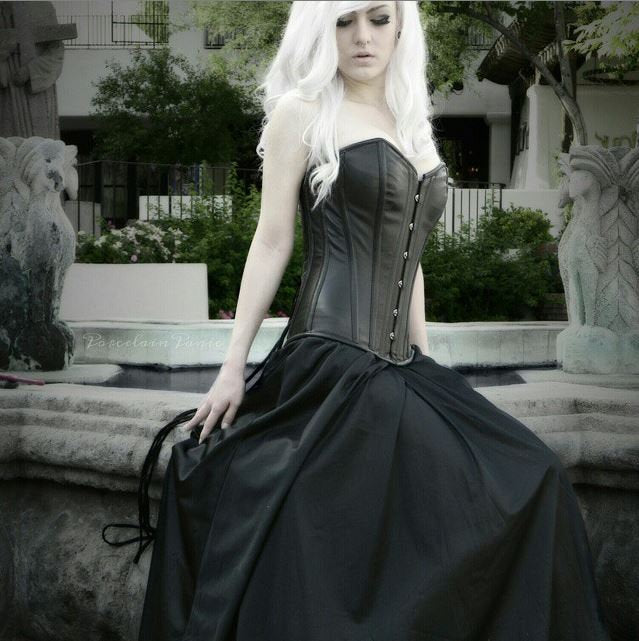
The result will look like that

View full collection of Authentic Corsets
Also take a look at our Wedding Corsets Guide.
If you’re looking to learn how to lace and tie a corset by yourself, you’ve come to the right place! Corsets are a great way to add a touch of flair to any outfit, and learning how to lace and tie them yourself is a great way to save money and make sure your corset fits perfectly.
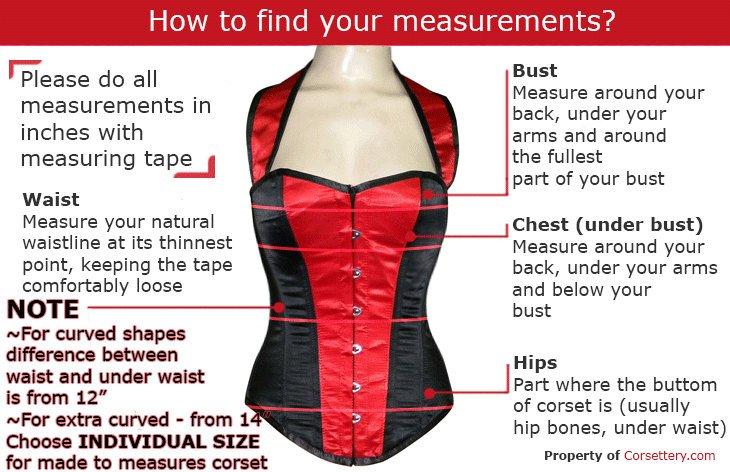
Before you start lacing your corset, you’ll need to pick the right size for you. Your corset should fit snugly against your body, but it should not be so tight that it is uncomfortable or causes any pain. Once you’ve got the right size, it’s time to start lacing!
To lace your corset, start by threading the laces through the grommets (small holes or eyelets) on the back of the corset. Make sure that you thread the laces in the same direction on both sides. Once you have the laces threaded through the grommets, begin to tie them together in a knot at the top.
Once you have the knot tied, start to pull the laces tight. You should do this gradually, making sure to pull the laces evenly on both sides. As you pull the laces, you’ll start to see the corset take shape. When you’ve pulled the laces as tight as you can, tie them together in a bow at the bottom.
Now that your corset is laced, it’s time to tie it up. Start by wrapping the laces around your waist, making sure to keep the laces even on both sides. Once you’ve wrapped the laces around your waist, tie them in a bow at the top.
Finally, you’ll need to adjust the laces to get the perfect fit. Start by loosening the laces at the top, then gradually tightening them until the corset fits snugly against your body. When you’ve got the perfect fit, tie the laces in a bow at the bottom.
And there you have it! Now you know how to lace and tie a corset by yourself. With a little practice, you’ll be able to create the perfect corset for any outfit.


As someone who wears corsets both for fashion styling and waist support, I absolutely loved this post. I wear overbust corsets when dressing up for events, but I also wear a cotton underbust corset daily under my outfits for posture and waist training. I had no idea that using the wrong lacing method could actually reduce the effectiveness of a corset or damage it over time.
This post helped me switch to a proper lacing method that not only looks neater but also preserves the shape of my corset longer. Especially for tight-lacing, even tension and secure loops are everything. It’s amazing how much better my corsets fit now, just because I learned the right way to lace them. Corsettery’s commitment to education makes them stand out so much in the corset community.
I wish I had seen this when I first started with corsets! I completely messed up my first satin corset by lacing it too tight at the top and not tightening from the waistline. I thought the discomfort was normal — turns out, I just didn’t know how to lace a corset properly. This article explains everything in such a beginner-friendly way.
I tried the bunny ear method you recommended, and the difference is incredible. Now I can wear my underbust corset from Corsettery for hours without feeling like I’m being squished in all the wrong places. The visuals and breakdowns of each technique really helped me understand what’s best for different corset styles.
Thank you for making waist training less intimidating!
Corsettery never disappoints when it comes to educating their audience. This article helped me finally understand the subtle differences between straight lacing, spiral lacing, and inverted bunny ears. I always thought lacing was just aesthetic, but now I realize how critical it is to get the right lacing technique for comfort, safety, and proper waist training.
I own several Corsettery corsets — leather, velvet, and mesh — and each one responds slightly differently to lacing. This guide gave me the confidence to adjust each one appropriately depending on the material and how tight I want to lace for the day. Honestly, it’s this kind of support and information that keeps me loyal to Corsettery. It’s more than just buying a corset — it’s learning how to wear it the right way.
This is by far one of the best guides I’ve read about how to properly lace a corset! I’ve owned corsets before, but no one ever explained the importance of lacing technique the way this post does. I recently purchased a real steel-boned underbust corset from Corsettery for waist training, and this guide completely changed the way I wear it. After switching to the bunny ears lacing method, I noticed how much more evenly the pressure distributes — no more sore ribs or uneven compression.
I also appreciate the advice on loosening the corset properly before taking it off. That’s such an overlooked tip but crucial for protecting the integrity of the fabric and boning. This blog post isn’t just educational — it’s a must-read for anyone serious about tight-lacing or wearing corsets long-term.
I’ve been tight-lacing for several years, and one thing I always tell people is this: the lacing technique matters as much as the corset itself. This guide covers that so well. Whether you’re into gothic, burlesque, or daily waist training, proper lacing will protect your corset and your body. Corsettery is one of the few brands that makes real double-steel boned corsets that can handle actual training, and this guide proves they really know what they’re doing.